Create and Manage Email Backup Task
Creating a email backup task is easy. Email Manager supports real-time backup and scheduled backup. If you want your email folders to be backed up as changes occur,
choose Real Backup. This might affect your system performance if the amount of data is very large or if it contains a lot of emails. In this case,
choose Scheduled Backup. Your email folders will be backed up at the scheduled time.
- Create email backup task
- Manage email backup task
- Restore email backup task
- Create email backup task
Launch the application and click on Backup button on the toolbar. It displays the backup task screen, shown as below:
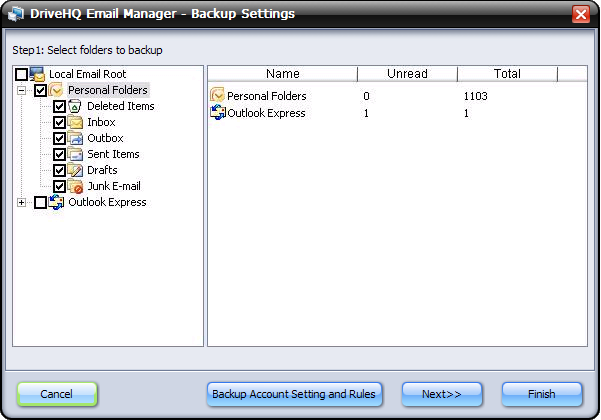
Select the email folders you want to backup which will be backed up to DriveHQ Remote Email Hosting. Click on Next to go forward to the second step, shown as below:
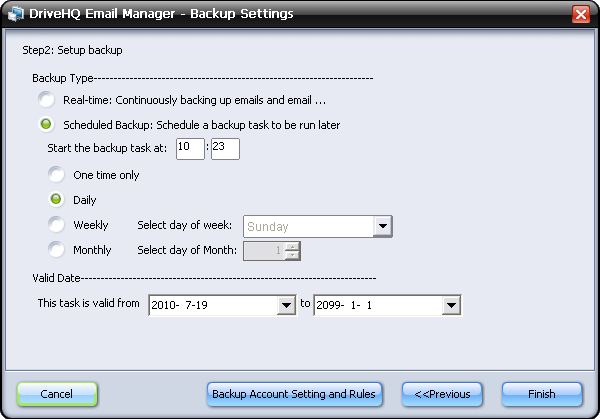
Select the backup types:
Real-time: If you select Real-time, the task will backup local email folders to remote email folders on
as changes occur.
Scheduled Backup: You can set a recurring backup schedule for the backup task. The task can run one-time, daily, weekly or monthly.
You must set a schedule if you selected "Scheduled backup". You cannot set a schedule if you selected real-time backup.
NOTE: The options under Start the backup task at only apply to Scheduled Backup.
They are disabled when you select Real-time Backup.
If you want to backup your email account setting and email routing rules, you can click on Backup Account Setting and Rules button.
It will pop up a screenshot as below:
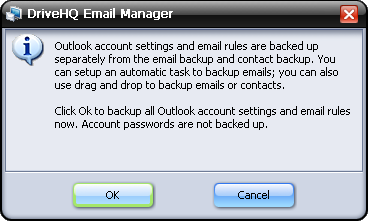
Click on OK to start the account settings and email rules backup. It will pop up a message box after finishing the backup, shown as below:
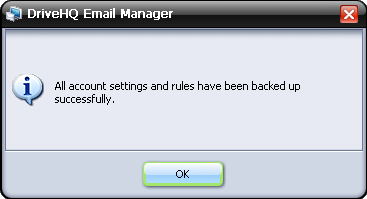
Click on OK to confirm it.
After finishing all backup setting, click on Finish to create the email backup task.
- Manage email backup task
After you have successfully created the email backup task, you can click on Backup button to edit the task,
delete the task or manually start the backup task (or stop the backup task if it is already running).
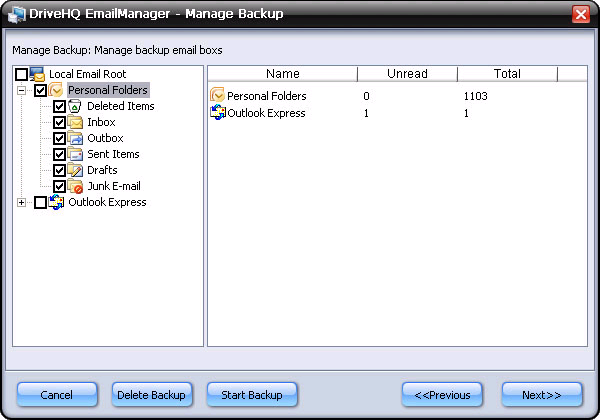
You can add / delete email folders in the backup source; change the backup type / backup schedule. After you have finished editing,
click on Save Changes button, the changes will be saved.
- Restore email backup task
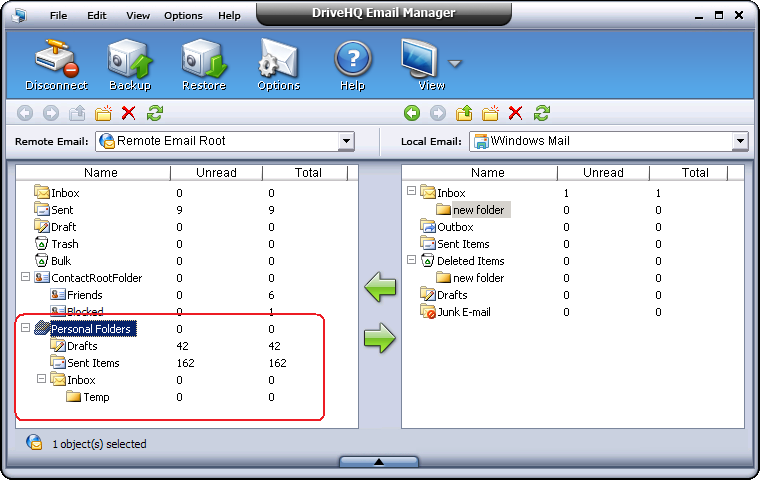
Emails backed up online are stored in your DriveHQ webmail account. From DriveHQ Email Manager, you can find them in the remote emails pane.
You can also easily access them online at: https://www.drivehq.com/EmailHosting/.
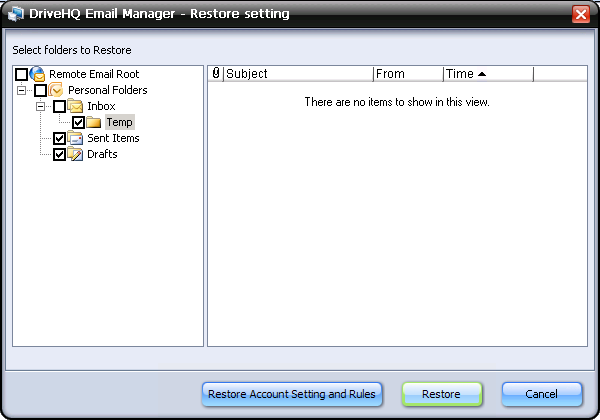
To restore your emails and email folders on the same computer, it is extremely easy. Just click on the Restore button to restore the whole backup
task to the original location. You can also restore a few email folders only. Just uncheck those email folders that you don’t want to restore. See the screenshot below
for more details.
You also can manually restore your backup task using drag and drop.
If you need to restore emails / folders to a different computer, or if you need to restore emails after you have reinstalled your operating system,
then you cannot use the Restore button to restore your emails. In this case, you must use drag and drop feature to restore your emails / folders.