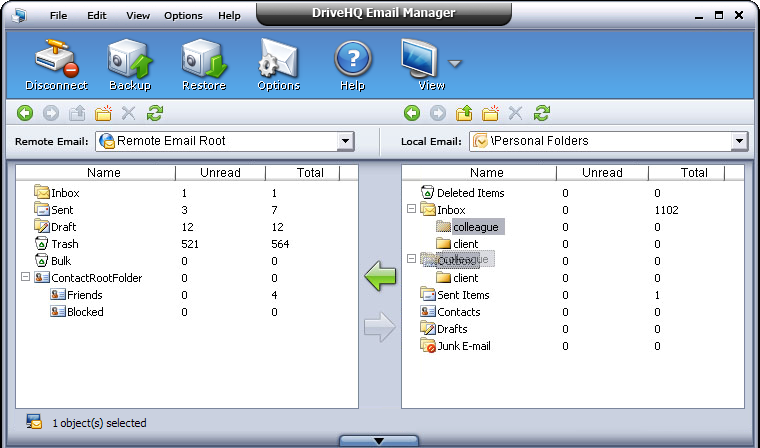
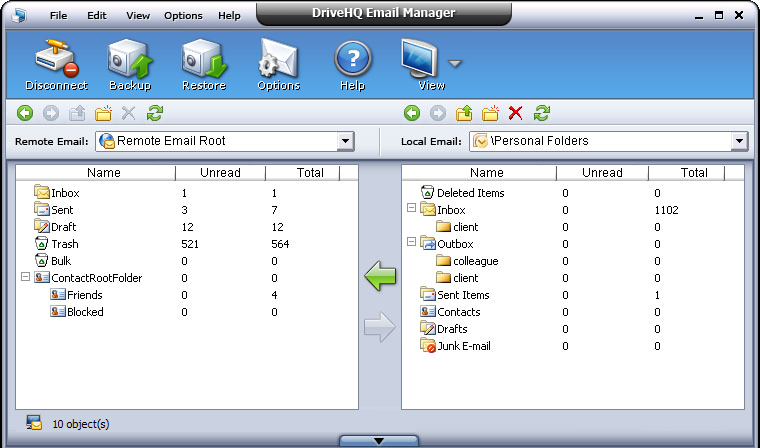
Manage Local Outlook Emails and Mail Boxes
In the local email management pane, you can manage local emails and folders in the same way as in the Windows Explorer window. In specific, you can:
- Navigate through local emails and folders
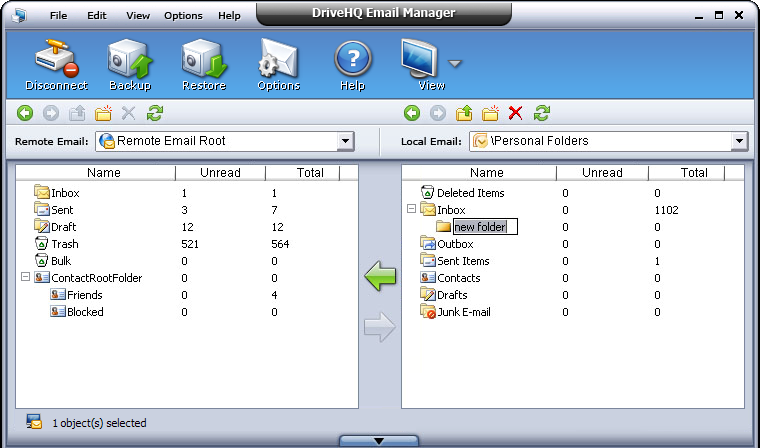
- Create new local folders
- Rename local folders
- Copy / Paste local emails and folders
- Delete local emails and folders
- Create a new sub folder
- Rename a new sub folder
- Cut / copy & paste a sub folder
- Delete a sub folder
- Drag / Drop a sub folder
- Navigate through local emails and folders
- Select the destination folder from the dropdown list on the top right corner;
- Enter a folder by double-clicking it in the local pane;
- Click on
 to go to the folder visited previously;
- Click on
 to go to the folder visited next;
- Click on
 to go to the parent folder.
- Create new local folders
- Click on
 button to create a new folder, and specify the folder name;
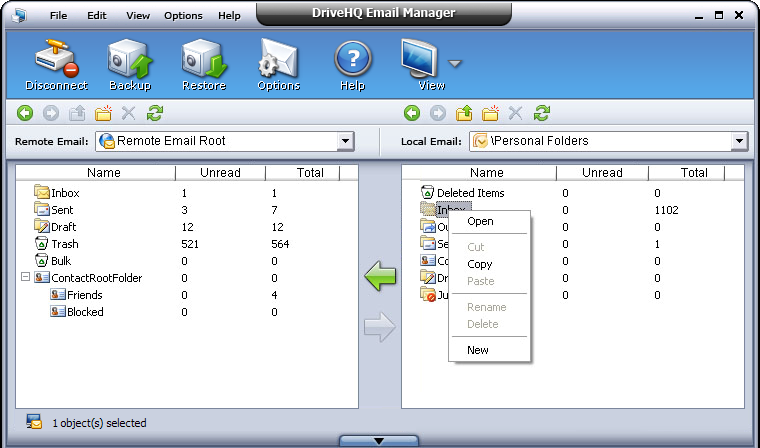
- Or, right-click the local pane area, other than the emails names, select New from the popup menu.
- Rename local folders
Click the folder to rename, click again or right-click and select Rename from the popup menu; Enter the new name, once the name edit box is shown.
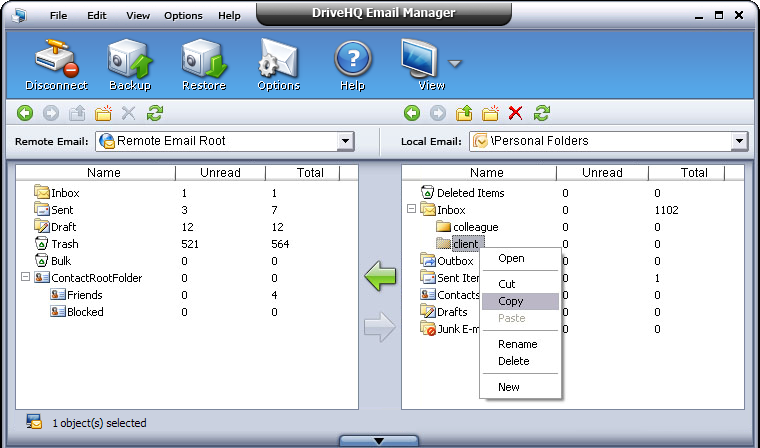
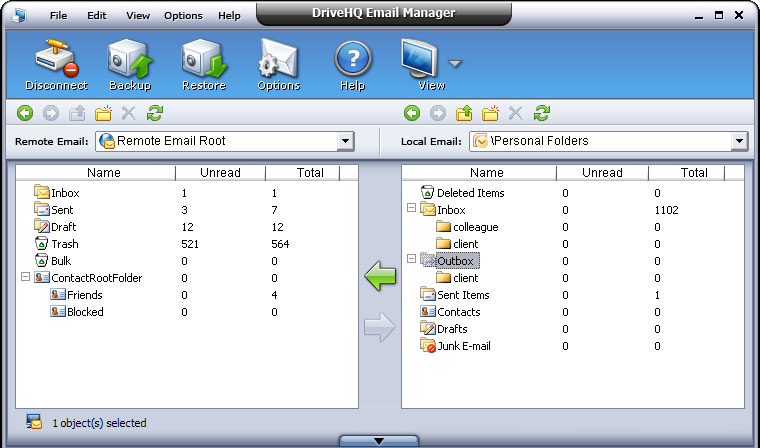
- Copy / Paste local emails and folders
Right-click on the emails/folder to copy, and select Copy
from the popup menu; Navigate to the destination folder; right-click the local
pane area, other than emails names, select Paste from the popup
menu.
- Delete local emails and folders
Select the emails / folder to delete, click on  button or press Delete key; Select Yes
on the confirmation message box if you want to delete, or click on No if you don't.
button or press Delete key; Select Yes
on the confirmation message box if you want to delete, or click on No if you don't.
- Create a new sub folder
- Select the folder, and then click on button to create a new sub folder, and specify the new folder name;

- Or, right click the target folder, then click New option from the popup menu.
- Rename a new sub folder
Right click the target sub folder and select Rename option from the popup menu; Enter the new name, once the name edit box is shown.
- Cut / copy & paste a sub folder
Right click the sub folder, and select Cut / Copy from the popup menu; Navigate to the target folder; Right click the local emails, select Paste from the popup menu.

- Delete a sub folder
Select the sub folder to delete, click on button or select Delete option from the right-click menu; Select Yes on the confirmation message box if you want to delete, or click on No if you don't.
- Drag / drop a sub folder
Select the target sub folder, then drag / drop this folder to the destination local folder. This is the same with cut-paste a sub folder.