When you register a new account on DriveHQ.com and order any service plan, you automatically receive an email account. The email address is YourUserName@firstcloudit.com. You can upgrade your account to a group account; then you can create sub email accounts. Company private domain email address is also supported.
To login to the webmail interface, please use the following address:
https://www.drivehq.com/EmailHosting/
You can use either the webmail interface or an email client. If you need help configuring email clients, please visit the step-by-step guides for configuring Microsoft Outlook Expres and Outlook Express.
Log on to your account. You can click on "EMAIL" at the top of page to use your email function. With our support of SMTP/POP3 based email service, you can now use any email client software to access DriveHQ email.
For Windows/Plesk accounts:
You can easily access your WebMail interface by just visiting:
https://www.drivehq.com/EmailHosting/
You can edit your email options in this page.
Free service users cannot use our email hosting service.
Paid members can access the following 5 features:
(1) Custom domain email
(2) Email forwarding addresses
(3) Email auto reply: You can edit auto reply email template.
(4) Email aliases: Email alias is not a real email account. Instead it's an address that forwards all email it receives to another email account. For example, if you establish an email alias called info@yourdomain.com to go to youraccount@firstcloudit.com, then all emails sent to info@yourdomain.com will be automatically forwarded to youraccount@firstcloudit.com.
If an alias is set up the same name as a username, the alias is invalid.
This way, you can have unlimited email addresses to fit your needs with only one drivehq email account.
(5) Email mailing list: Available to group admin users or non-group-member users
You can easily send email messages via the web-email program you have chosen. Just log on to your account, click on COMPOSE and an email blank will open before you and you will be able to start writing your message.
Enterprise Service offers larger mailbox size, plus the capability to create email aliases, setup auto reply email, auto forward emails and create group mailing lists.
If you decide to use an email client, such as Microsoft Outlook Express and Outlook Express, here are the settings you need:
Incoming mail server (POP3/IMAP4 server): mail.firstcloudit.com
Outgoing mail server (SMTP server): mail.firstcloudit.com Or Host: mail.firstcloudit.com
Username: your drivehq account name
Password: your drivehq account password
SMTP authentication must be enabled for the login to be successful.
Learn how to set your email clients to work with your webmail account:
How to configure Outlook Express to support DriveHQ Email?
With our support of SMTP/POP3/IMAP4 based email service, you can now use any email client software to access DriveHQ email. For Microsoft Outlook Express users, please see the instructions at the bottom on how to configure DriveHQ email service.
SMTP/POP3 based email is much easier to use than any web-based email. Many email client applications offer powerful features such as message rules, advanced editing, filtering and searching, etc. You also can configure multiple email accounts in one email client. More importantly, you can easily download emails to your local computers, so that emails will be available offline; and by deleting emails on server, you get virtually unlimited mailbox size!
You can configure Outlook Express to support DriveHQ Email by the following steps.
1. Lanuch Outlook Express, in the Tools menu, click Accounts .
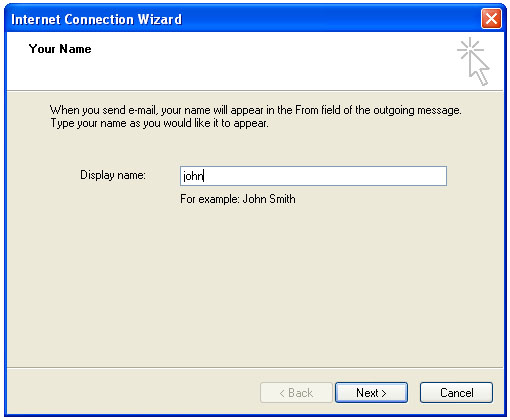
2. In the Internet Accounts dailog box, click Add , then select Mail to open the Internet Connection Wizard. Enter your Display name :
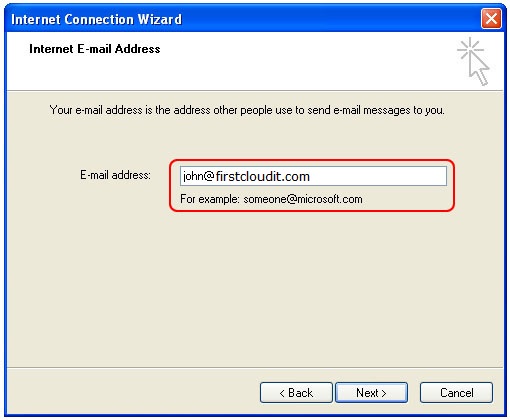
3. Enter your DriveHQ.com email address, which is YourUserName@firstcloudit.com.
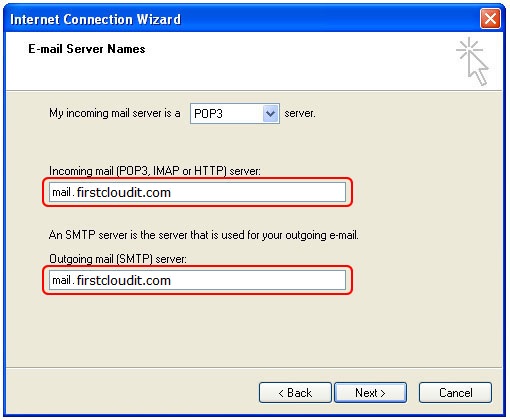
4. Click Next , then enter E-mail Server Names . Both POP3 and SMTP servers are mail.firstcloudit.com .
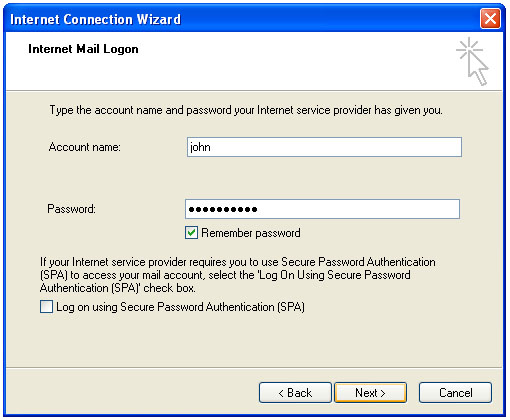
5. Click Next button, it goes to the Inernet Mail Logon screen. Enter your DriveHQ username and password in the required boxes. If you select Remember password option, you do not need to enter your account info again the next time you lanuch Outlook Express.
6. Click Next button, you are almost done configuring your DriveHQ email. Click Finish to finish the wizard.
7. DriveHQ outgoing server requires authentication, so you must configure the outgoing server. Firstly, in Tool menu, click Accounts . In Internet Accounts page, click Mail tab, then click Properties button, shown as bellow:
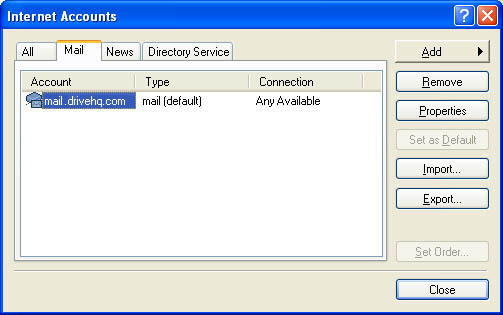
Click Servers tab, check Outgoing Mail Server , select My Server requires authentication . Click OK and close the dialog. You are ready to use DriveHQ email.

How to configure Outlook to support DriveHQ Email?
You can configure Outlook to support DriveHQ Email by the following steps.
1. Lanuch Outlook, in the Tools menu, click E-mail Accounts .
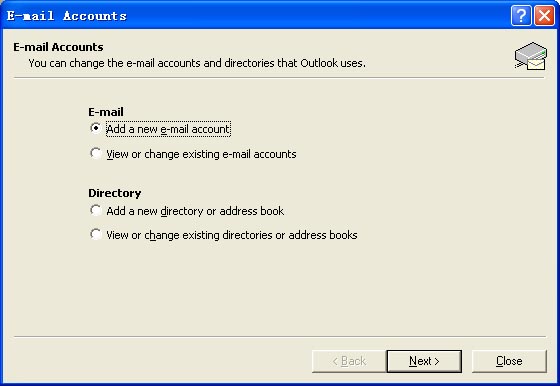
2. In the E-mail Accounts dailog box, select Add a new email account , then click Next button,
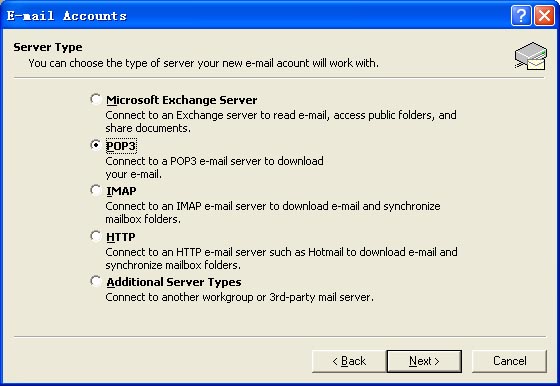
3. In the Server Type page, select POP3 option, then click Next button, it goes to the Internet E-mail Settings screen,
4. Enter all required information in the requird boxes. Firstly, enter your name and DriveHQ.com E-mail address, which is YourUserName@firstcloudit.com in User Information boxes. Then enter your user name and password in Logon Information boxes. If you seclect Remember password option, you do not need to enter your account info again the next time you lanuch Outlook. At last, please pay attention to Server Information boxes. Enter the POP3/IMAP4 server and SMTP server that provided by DriveHQ.com, both POP3/IMAP4 and SMTP servers are mail.firstcloudit.com .

5. Click Next button, you are almost done configuring your DriveHQ email. Click Finish button to finish the configuration process.
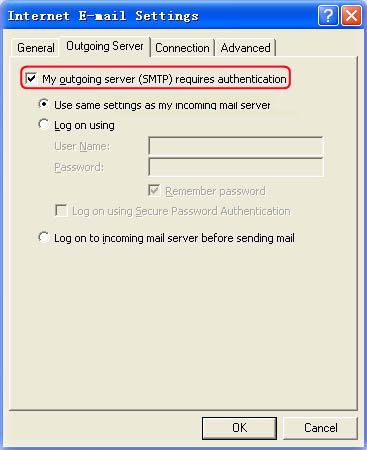
6. DriveHQ outgoing server requires authentication, so you must configure the outgoing server. Firstly, in the Tools menu, click E-mail Accounts , then click Next button to turn to Internet E-mail Settings page. In this page, click More Setting button, select Outgoing Server tab, and seclect My outgoing server(SMTP)requires authentication that shown as below. Click OK and close the dialog. You are ready to use DriveHQ email.
How to configure Foxmail to support DriveHQ Email?
You can configure Foxmail to support DriveHQ Email by the following steps.
1. Lanuch Foxmail, in the Accounts menu, click New, you will see the Accounts Wizard dailog box, click on Next.
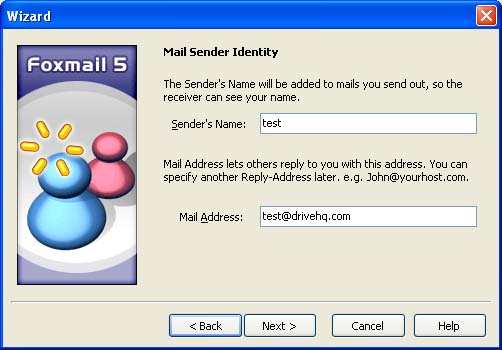
2. In the Accounts Wizard dailog box, enter all required information in the requird boxes. Firstly, enter your name and DriveHQ.com E-mail address, which is YourUserName@firstcloudit.com in User Information boxes.
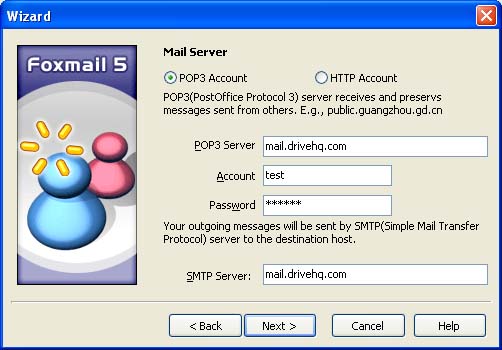
3.Then enter your user name and password in Account Information boxes. At last, please pay attention to Server Information boxes. Enter the POP3 server and SMTP server that provided by DriveHQ.com, both POP3 and SMTP servers are mail.firstcloudit.com .
4.Click Next button, you are almost done configuring your DriveHQ email.
Now check SMTP server needs authentication . Please do not use secure authentication as we do not support this method.
If you want the messages to be kept on the server, check Leave a copy of messages in server.
You are ready to use DriveHQ email. Click Finish button to finish the configuration process.

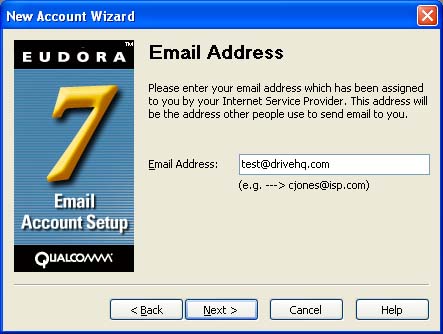
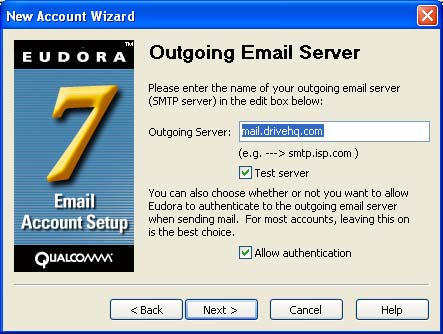
Step-by-step guide on how to configure your Eudora email client to work with your drivehq email account
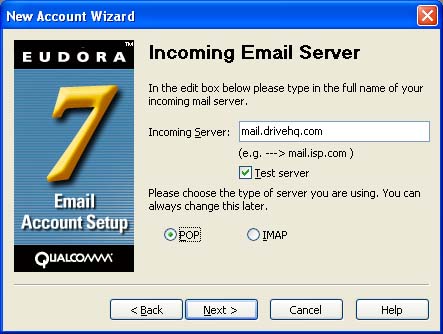
Please select the Allow authentication option.
Secure sockets when receiving should also be set to Never .
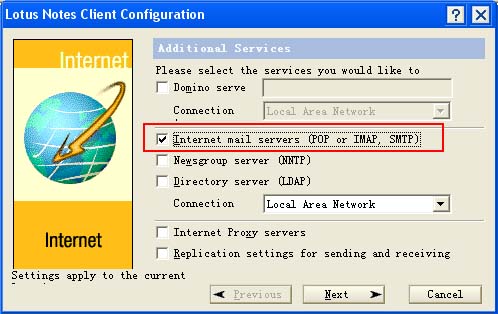
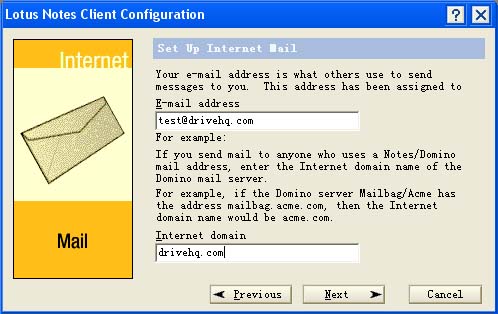
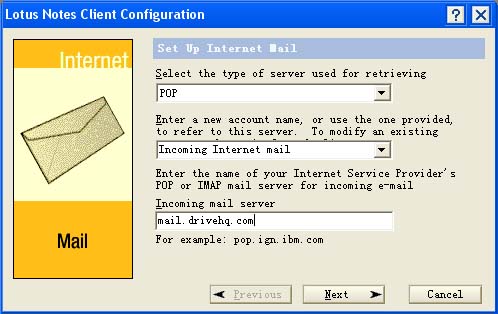
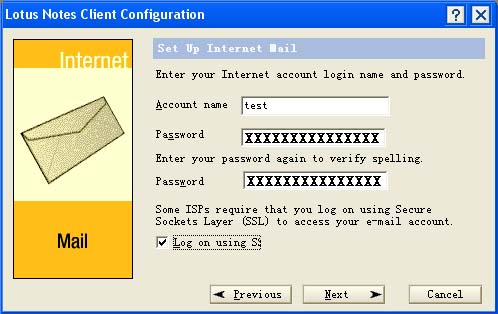
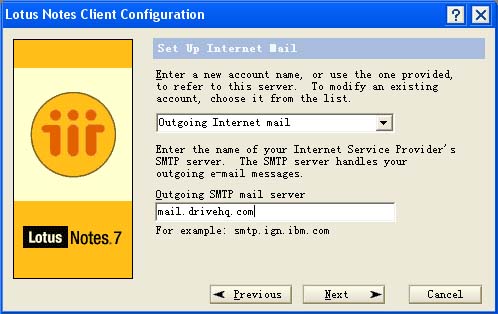
How to configure Lotus Notes to support DriveHQ Email?
You can configure Lotus Notes to support DriveHQ Email by the following steps.