|
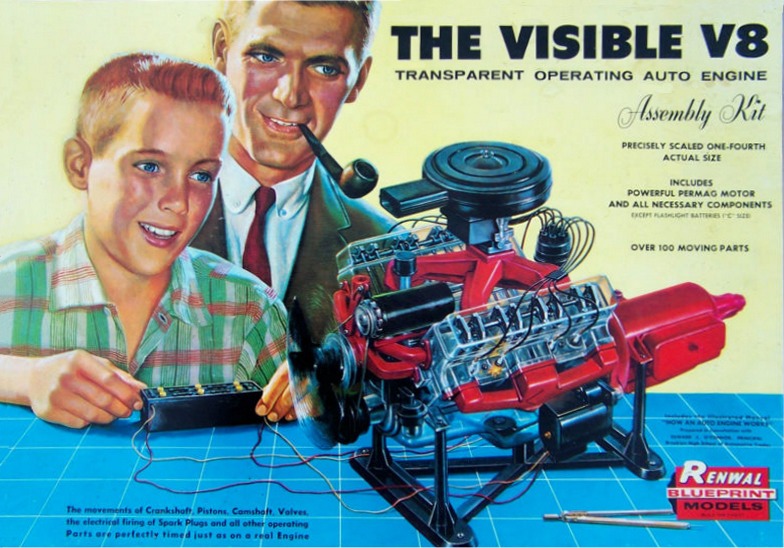
Allthough it does not fit in my 1/24-5 scale collection of cars, I
have always been fascinated by the Renwal Visible V8 kit in a 1/4
scale. The kit was, at least in my personal opinion, a very
sophisticated kit for the time it was issued. All the working parts,
pistons, crankshaft, valves, rocker arms and more made it a very
special kit. I still remember the one I saw at the local hobby shop
when I was a kid. I liked it very much, but the price was way, way
out of my league. In 2012 I finally decided that I should go for it. I found a build one on eBay which didn't cost me much, but it was not in a very good condition. A few weeks later I found another one, not on eBay, but on a webshop were I had bought some other good stuff. And it was cheap! And not assembled! And after about 0.01 second I decided to buy it for only $ 80.00. A steal! And here are the pictures and "how to's" of my Renwal Visible V8 build. |
 |
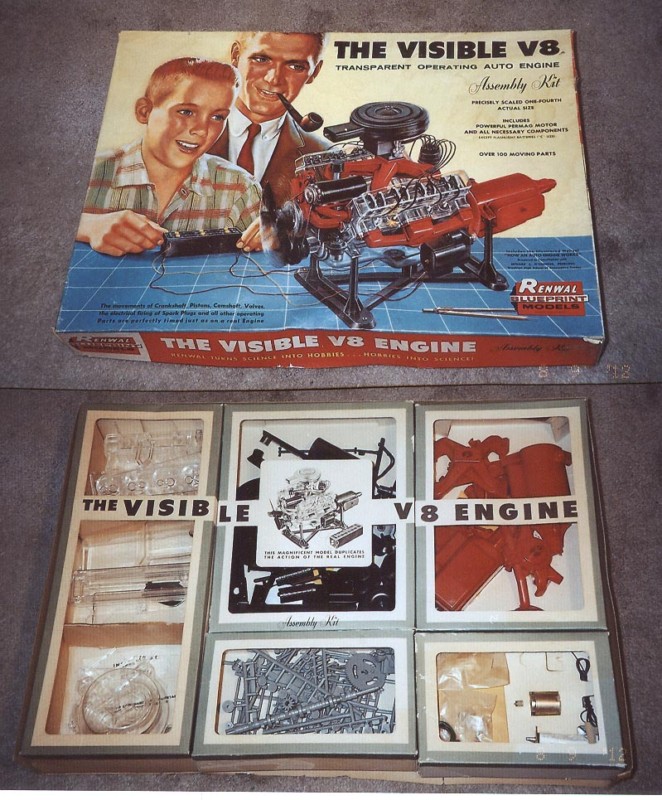
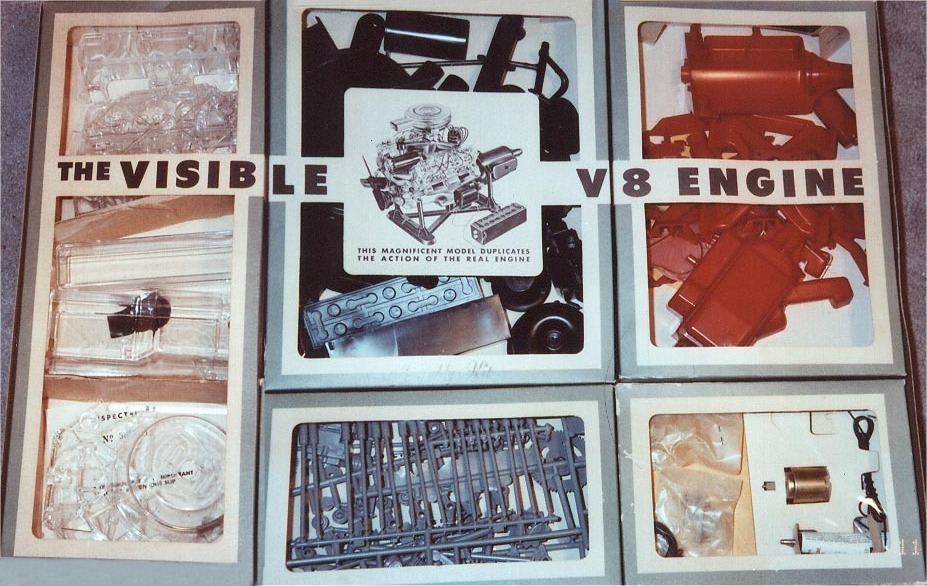
| The box with all the parts |
 |
 |
 |
|
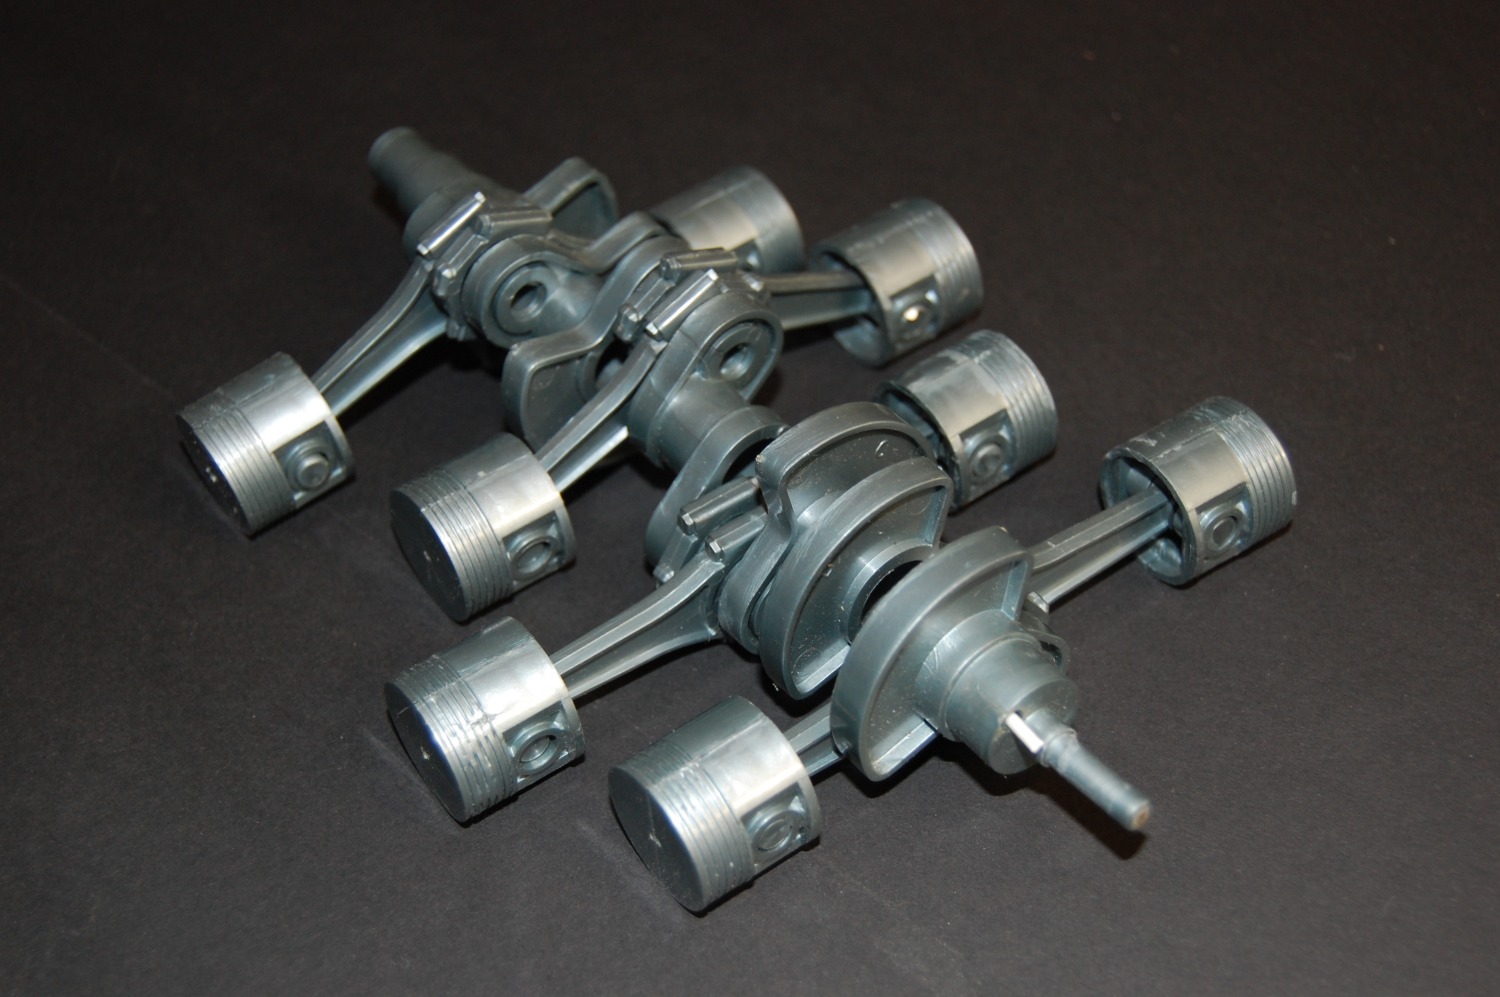
The assembled crankshaft with the pistons (click on the picture to open a large picture in a new window) |
 |
|
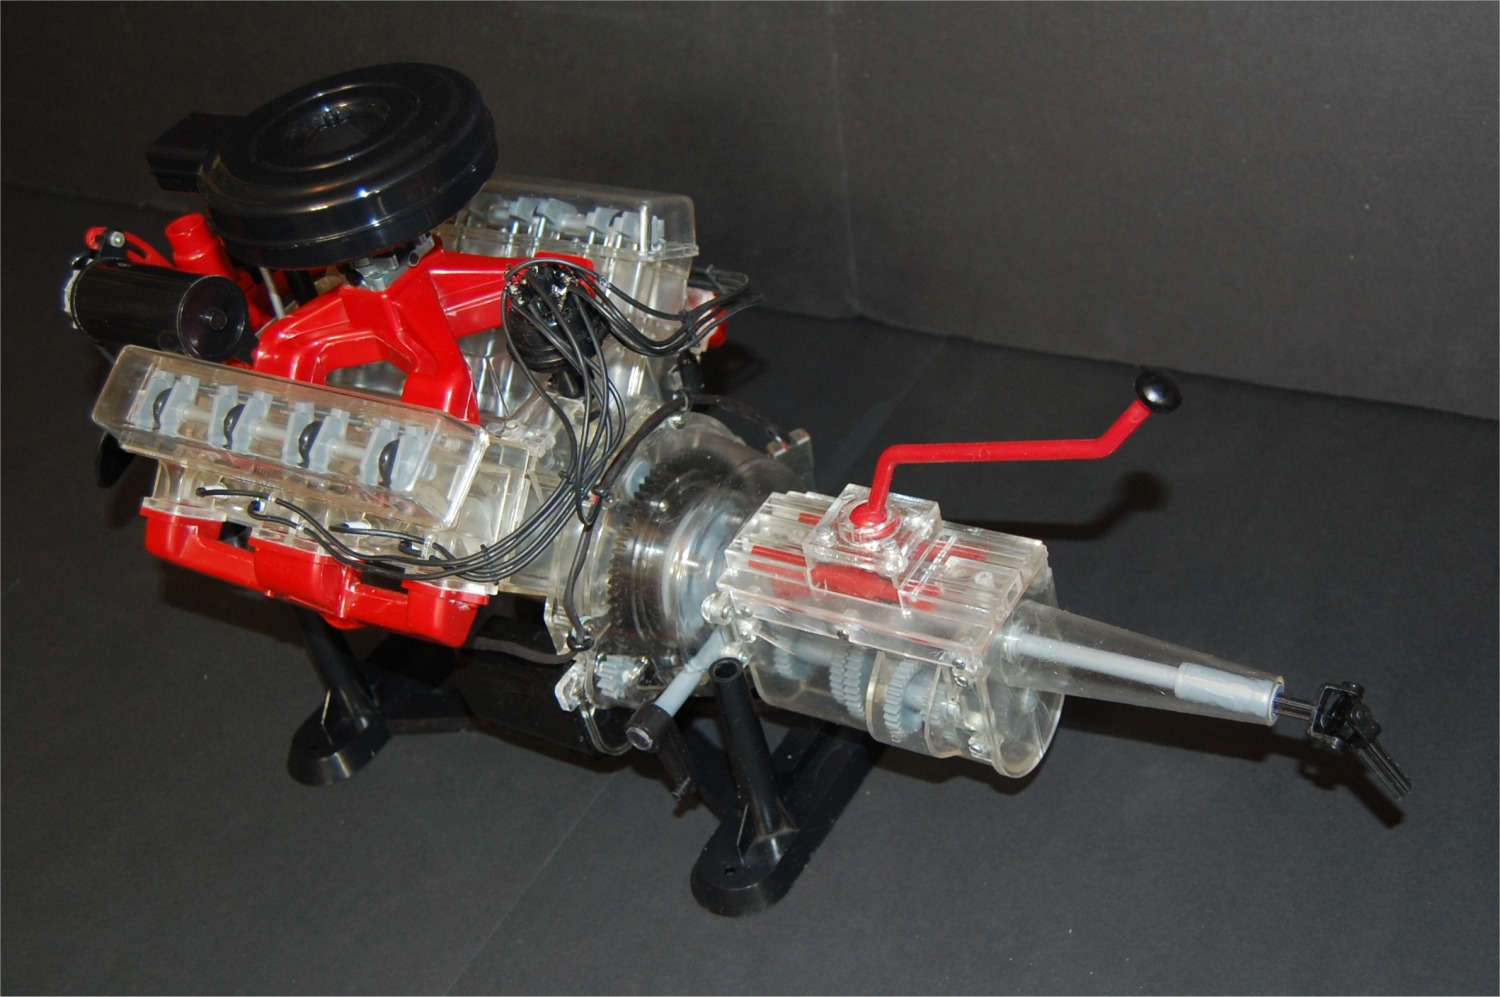
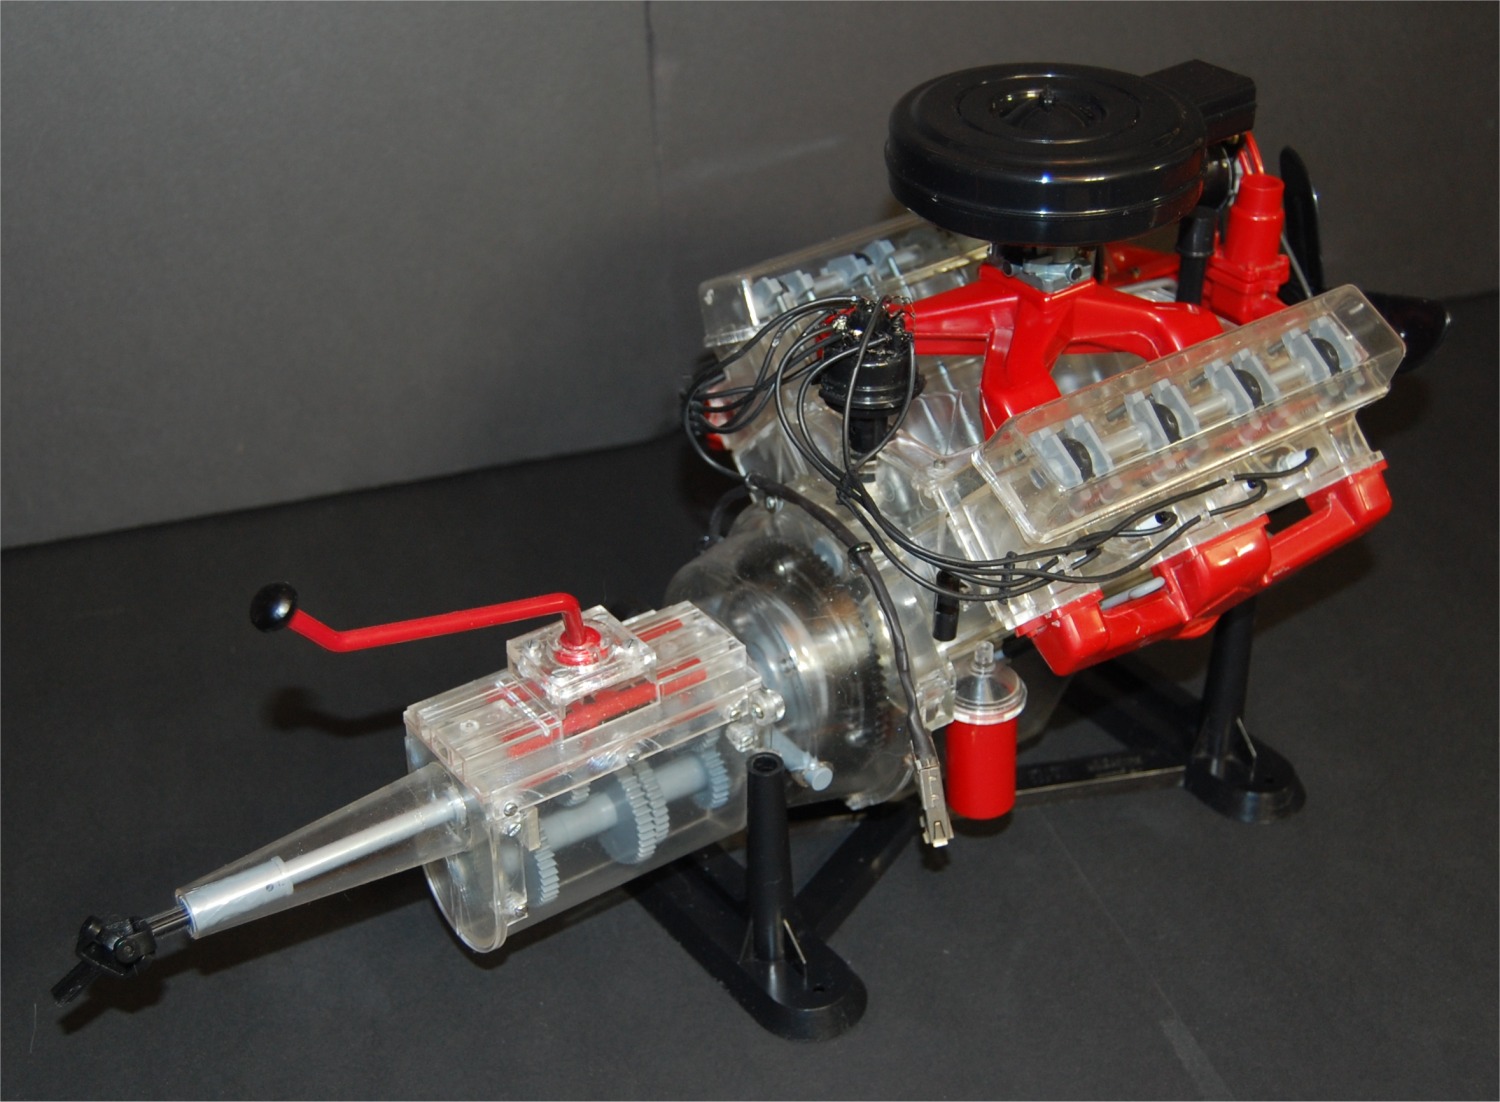
The assembled engine (click on the picture to open a large picture in a new window) |
 |
 |
|
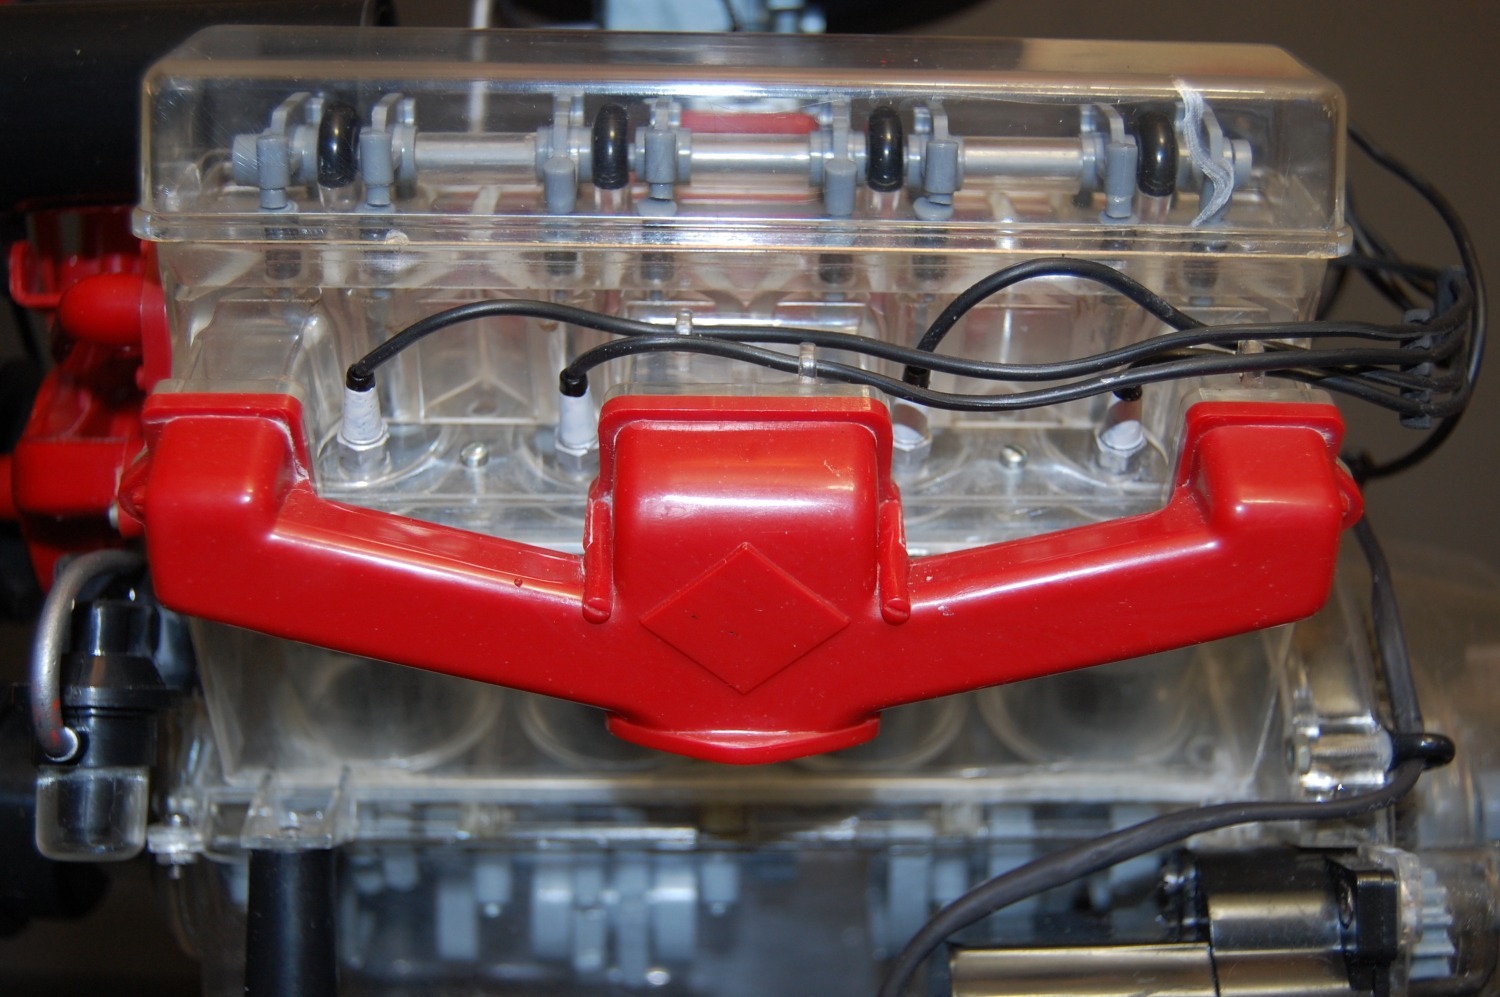
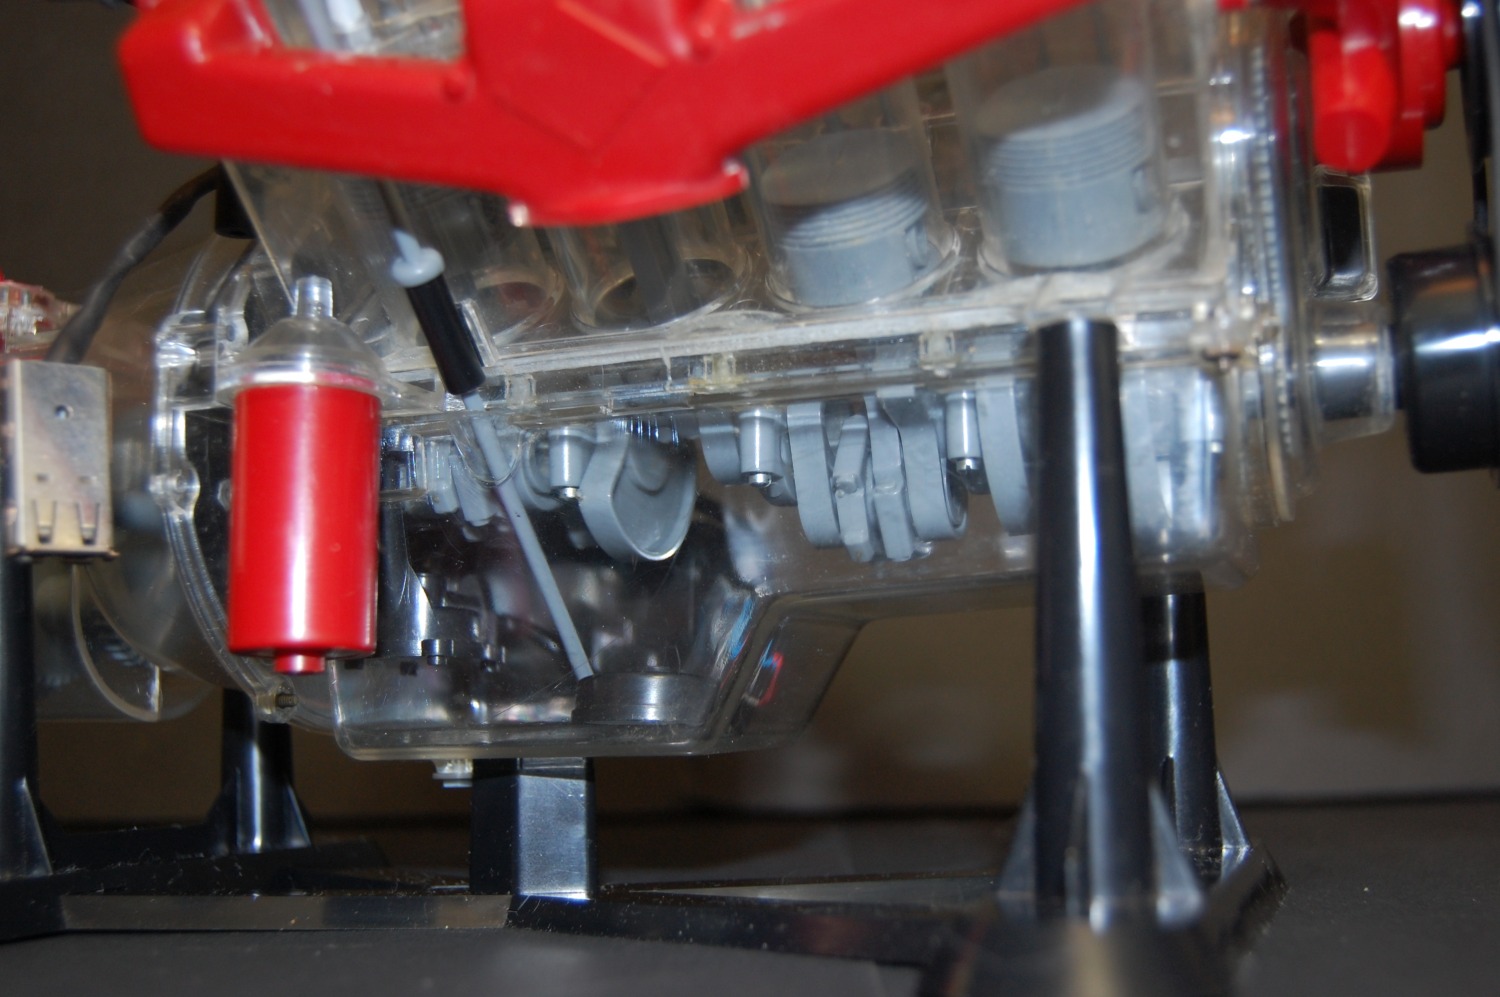
A close-up of the working rocker arms and valves (click on the picture to open a large picture in a new window) |
 |
|
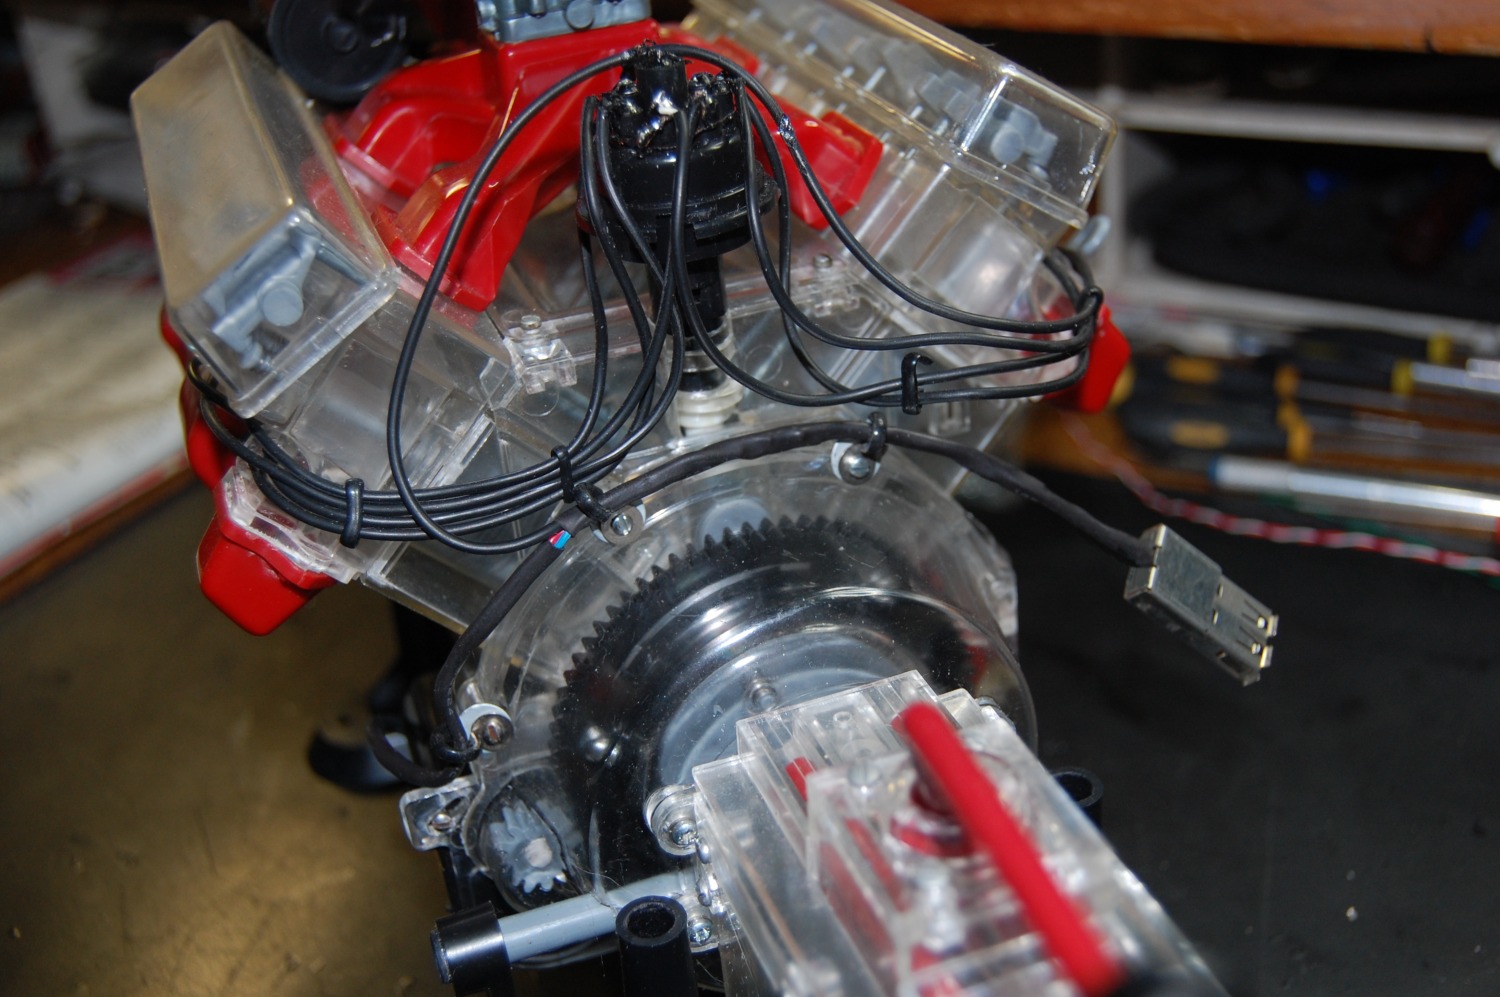
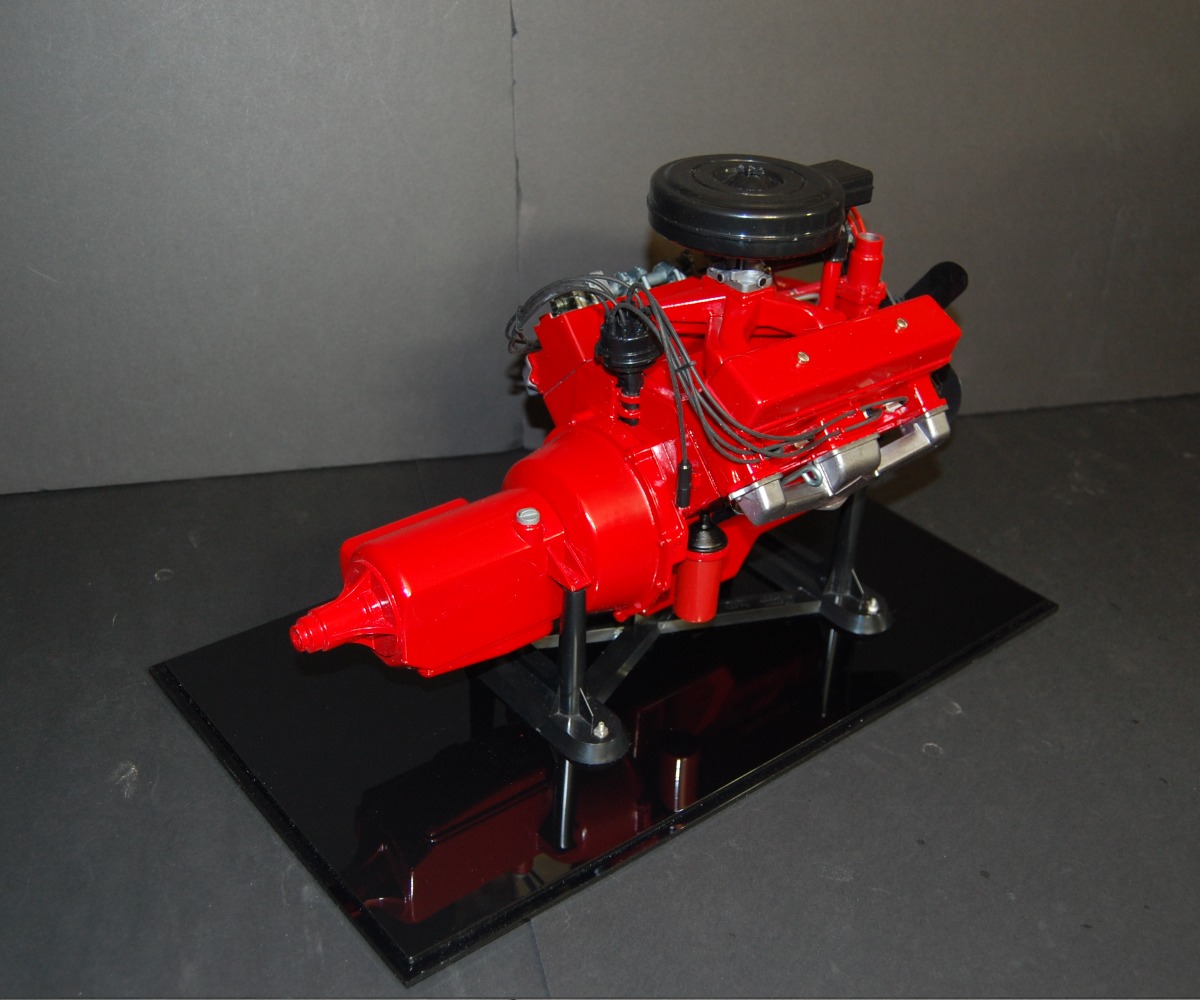
The spark plugs in the kit were red light bulbs,
each with two wires. But I didn't like that visible wire mess on the
outside (eight cables for four plugs? Nah..., I don't think so...)
so I used the black cables from a telephone headset. These cables
also have two (very) small wires, but both are inside the black insulation. It does look
much better and far more realistic. (click on the picture to open a large picture in a new window) |
 |
|
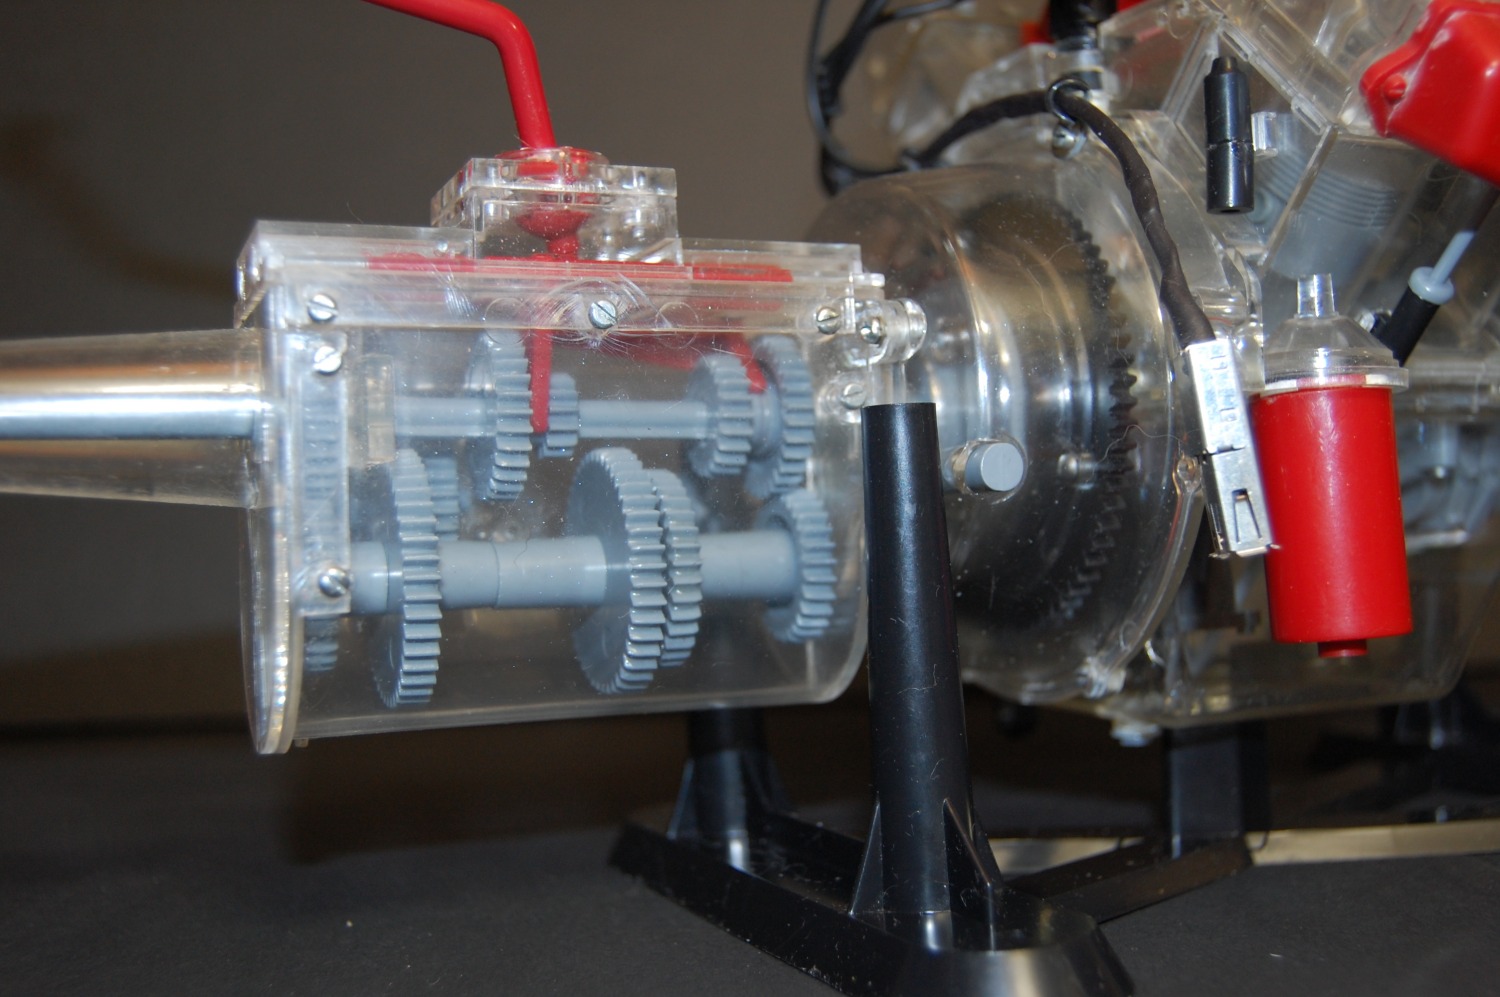
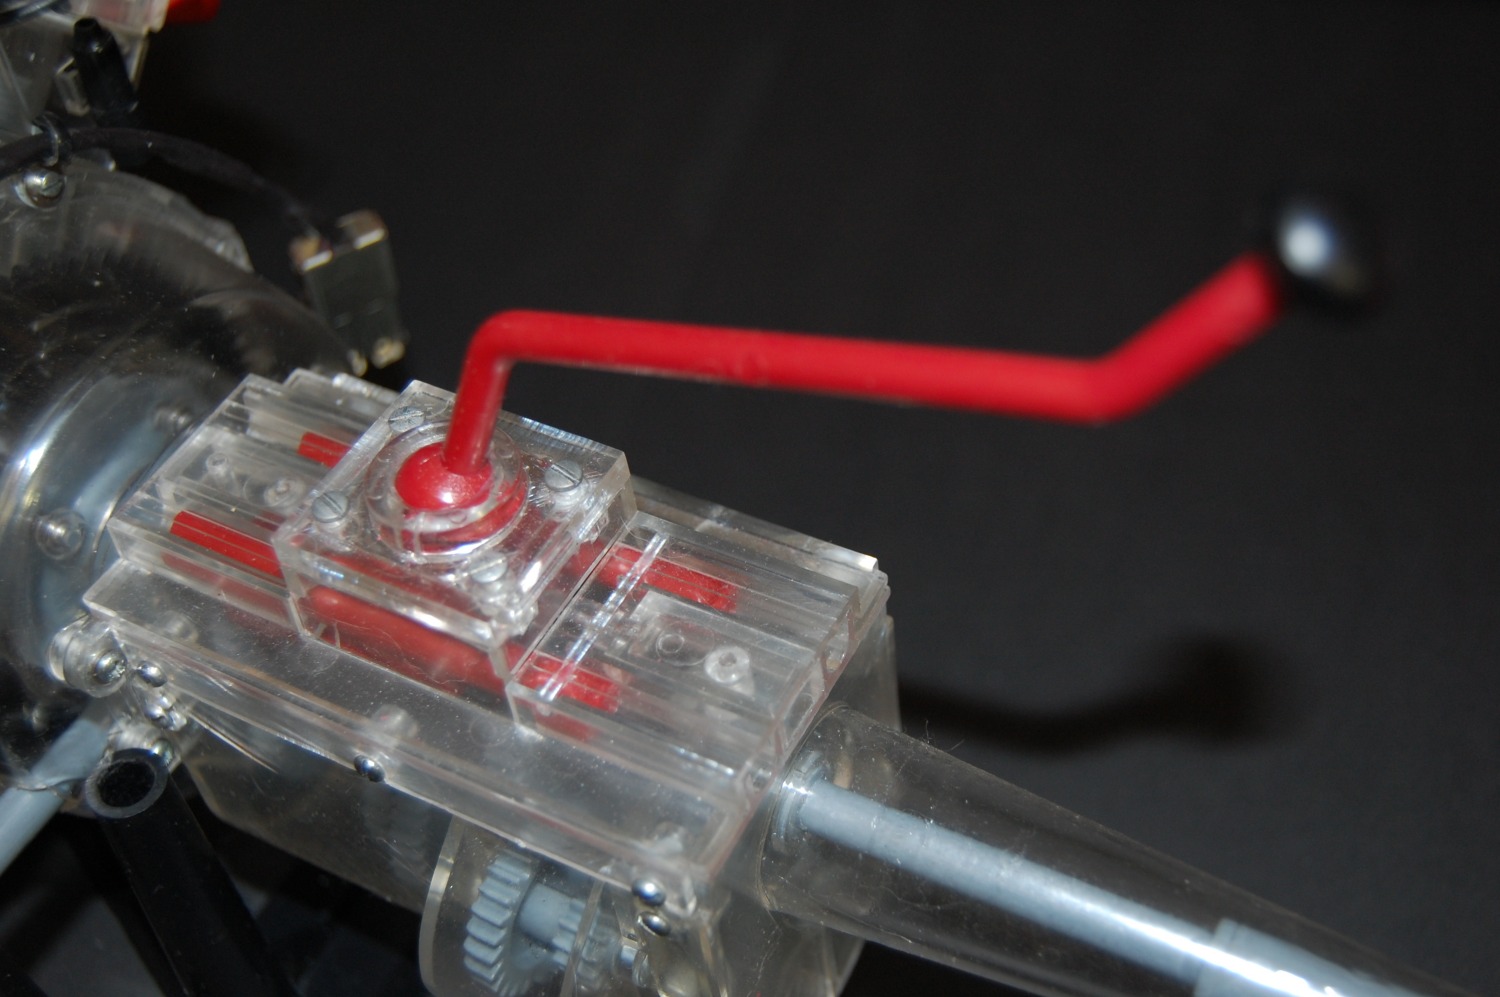
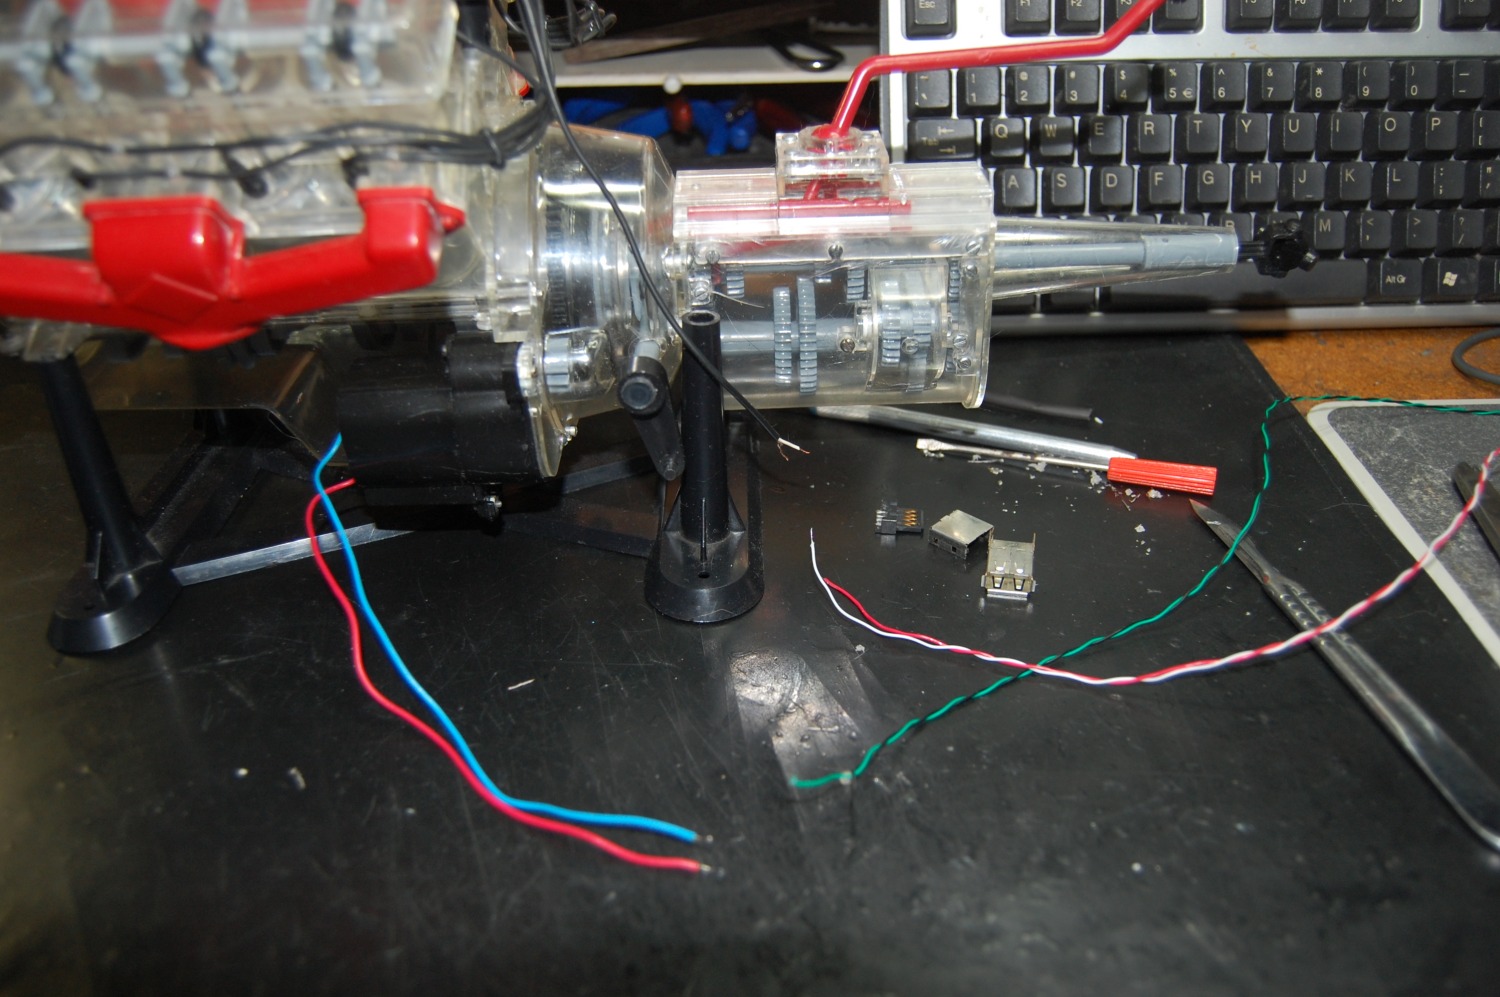
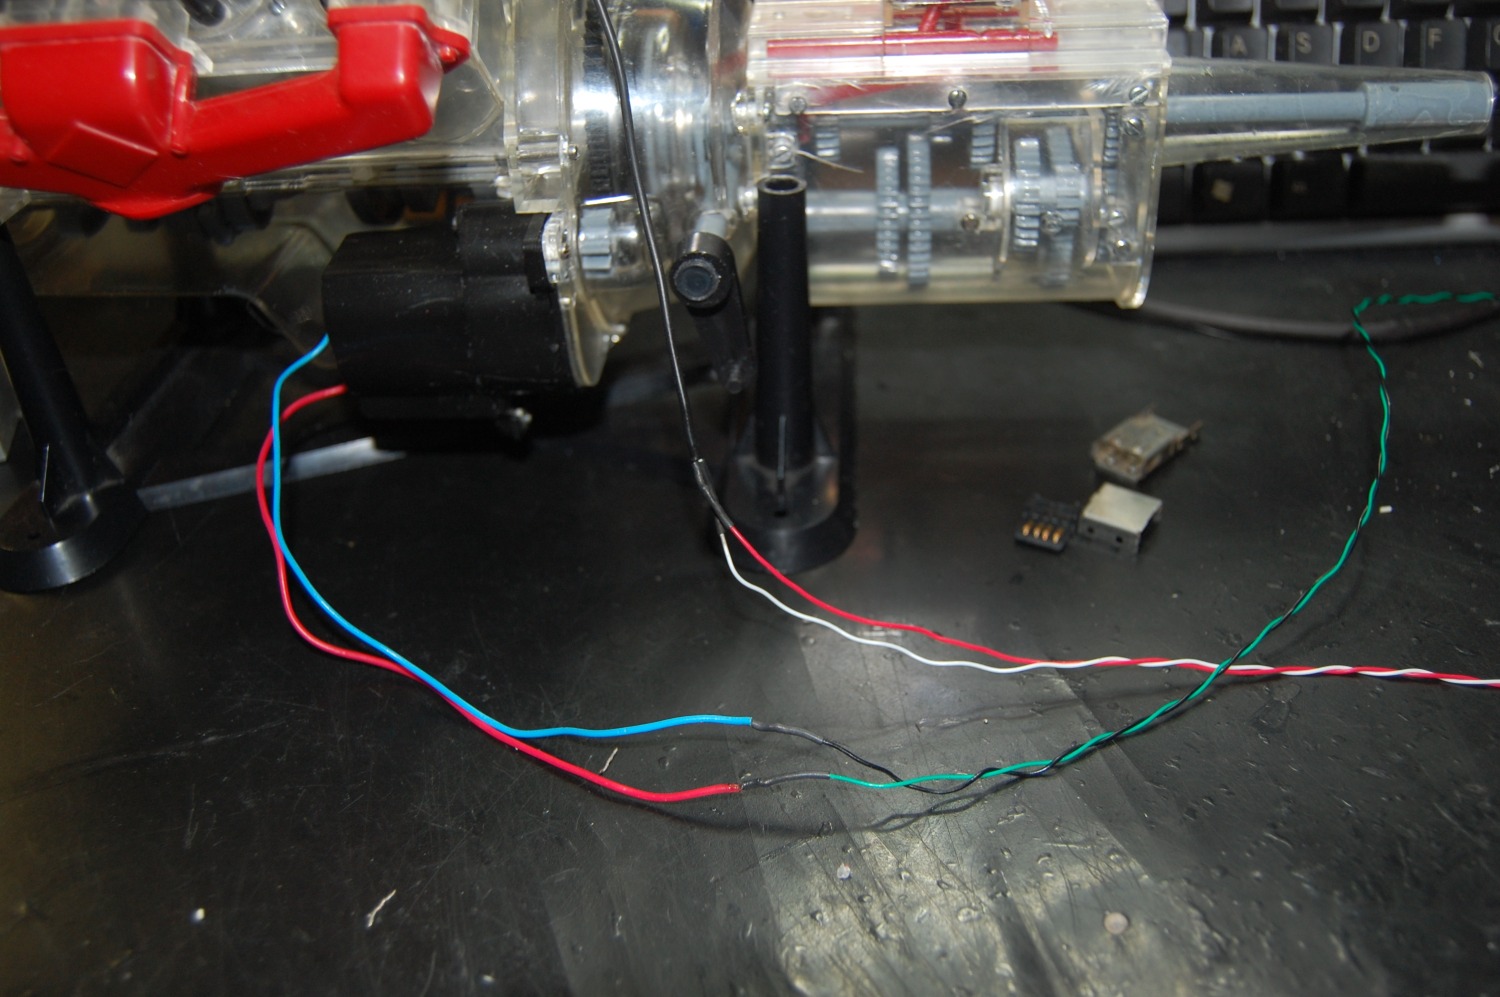
A close-up of the working gear box with three forward
gears and a reverse gear. (click on the picture to open a large picture in a new window) |
 |
 |
|
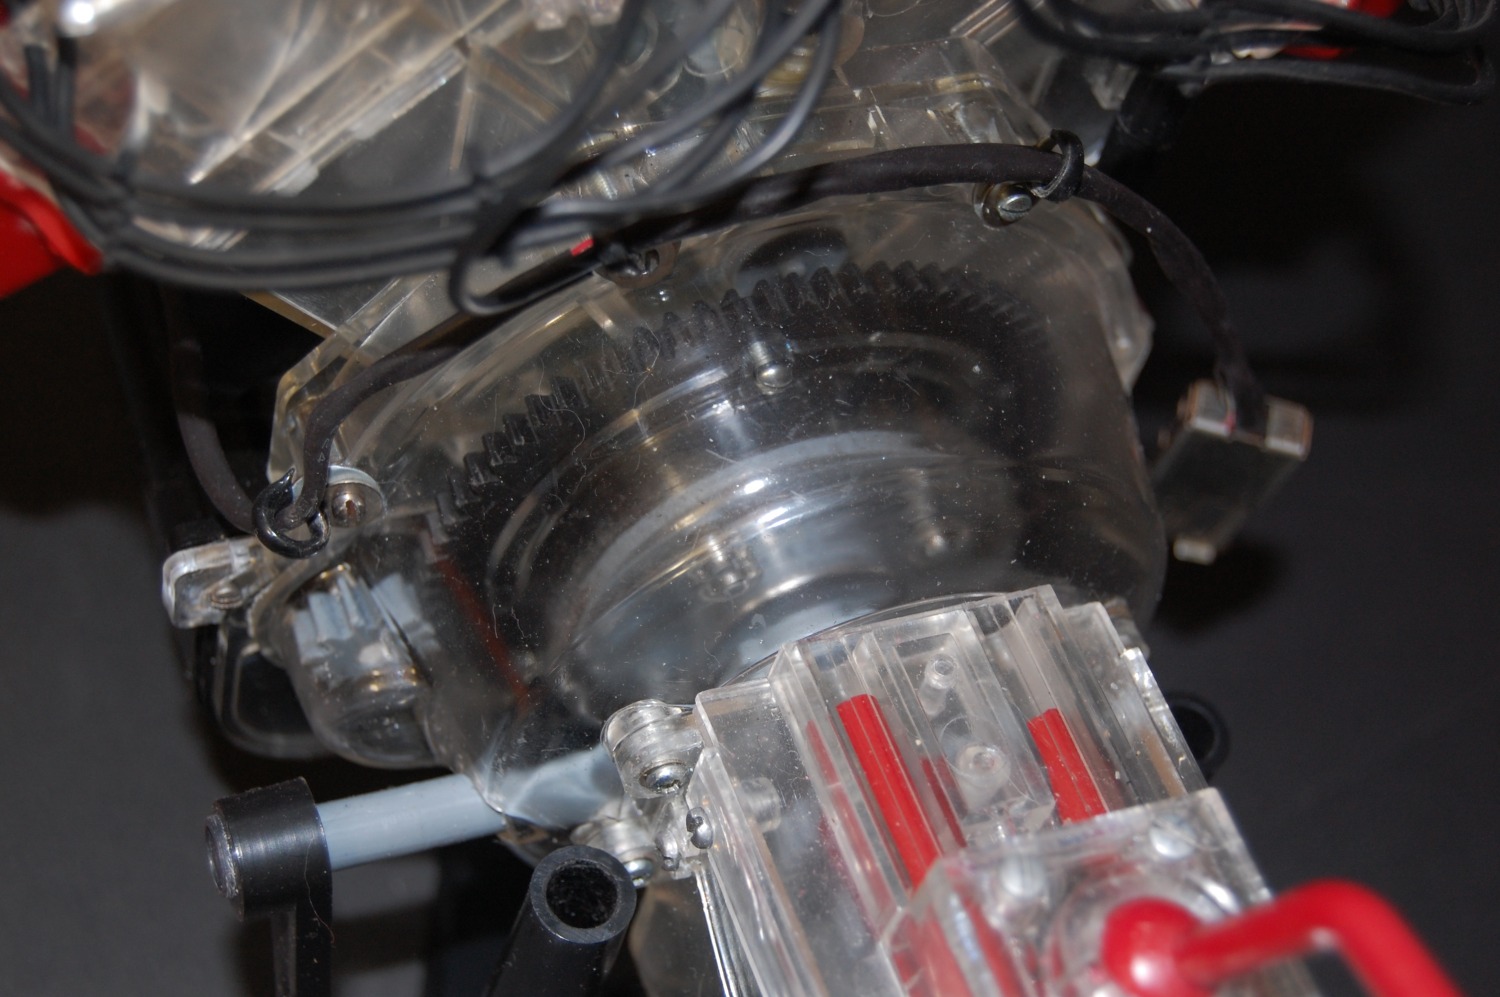
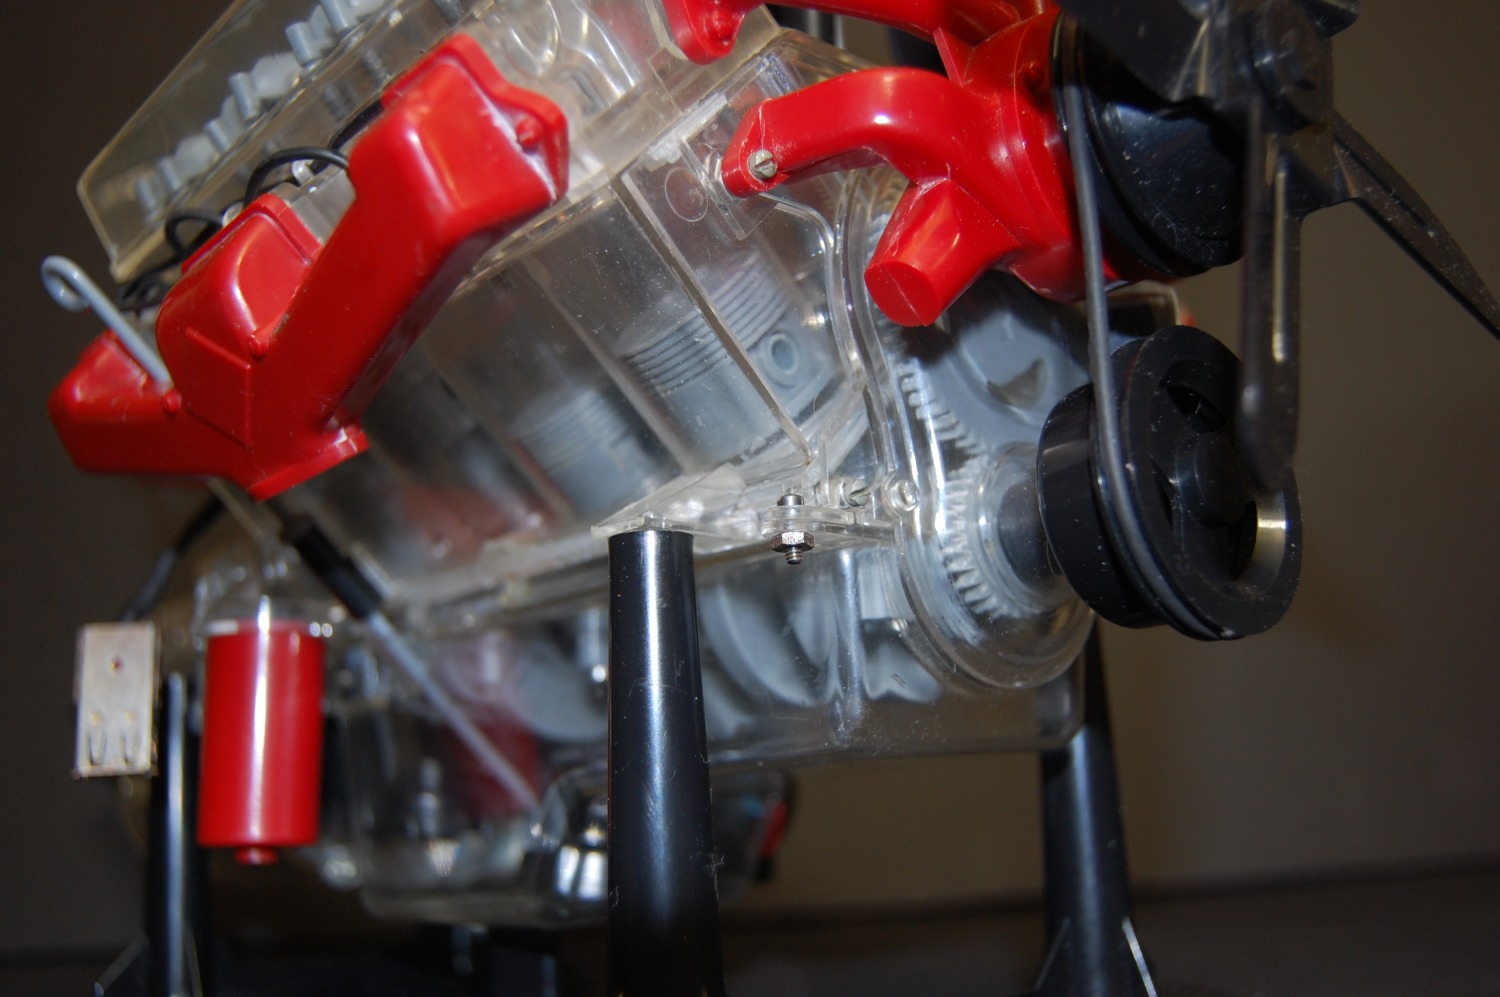
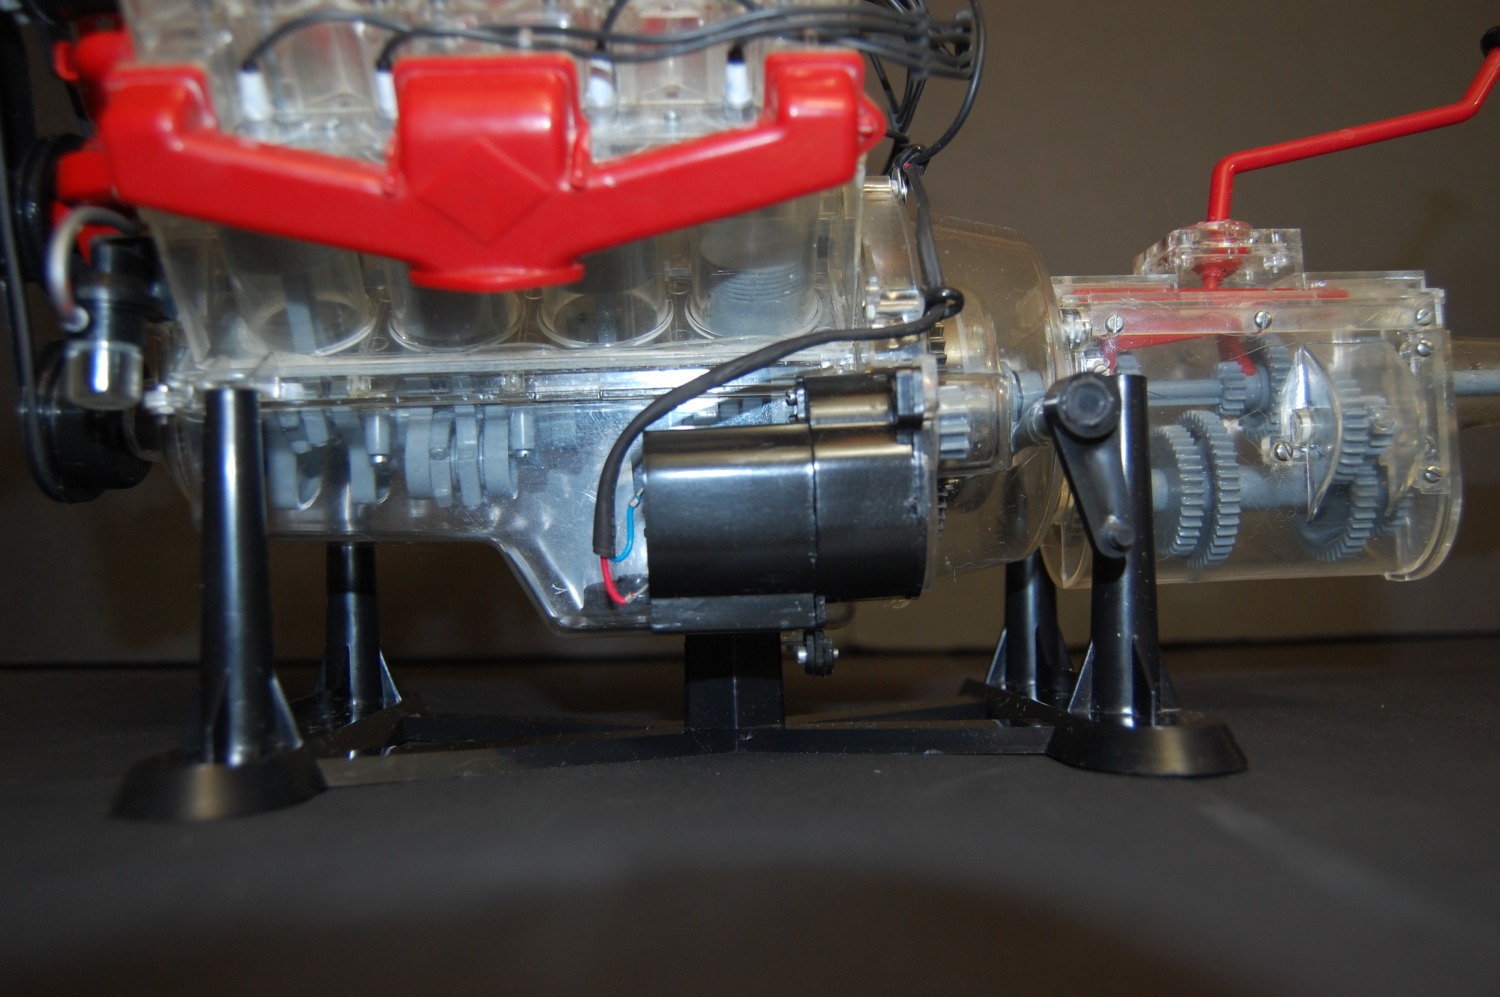
A close-up of the working clutch (click on the picture to open a large picture in a new window) |
 |
|
A few close-ups of the working crankshaft and pistons (click on the picture to open a large picture in a new window) |
 |
 |
|
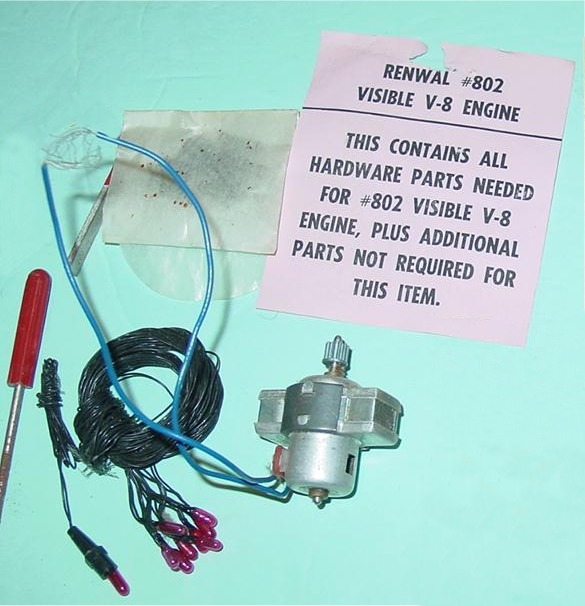
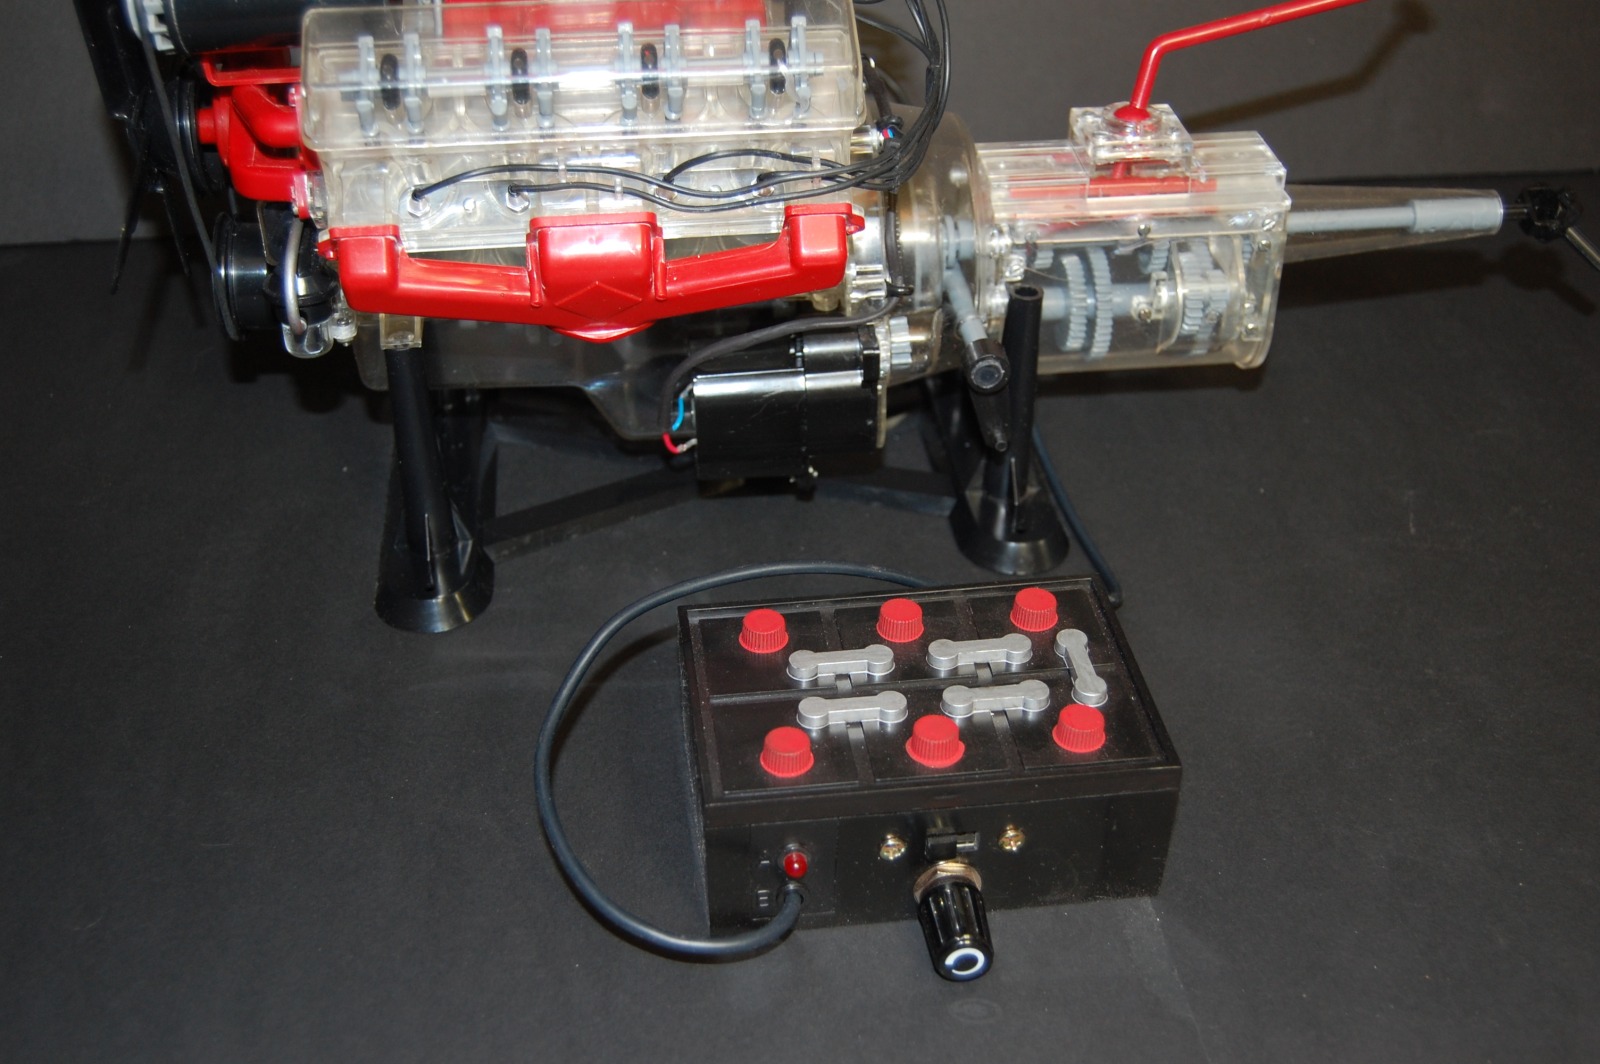
The original Visible V8 should be powered by 2 "C" size flashlight
batteries, but I would like to have a variable speed control. To
achieve that I build a voltage regulator which runs on three
rechargeable cell phone batteries (connected in serie to get 10.6
Volt, 1000mA). The output of the regulator varies between 1.5 - 9
Volt and is controlled by a potentiometer. The next problem I had to solve was that the working spark plugs needed a constant voltage to work properly. First of all I replaced the original red light bulbs with blue LED's which give a more realistic effect. In that way I solved two problems: real spark plugs don't spark red (unless there is something very wrong with them) and the lifetime of a LED is much, much longer than that of a light bulb. But that second circuit also needed power so I found the solution to build another voltage regulator which runs on a single 9 Volt rechargealbe battery. It gives a constant output of 3.2 Volt which is perfect for the LED's. These 9 Volt batteries don't have much power, but as the LED's don't need much it'll last for a long time before recharging. To get all that electronic stuf in one place I used the larger battery box of The Visible Automobile Chassis. It contains the on/off switch, the potentiometer, the two voltage regulators, the three cell phone batteries, the 9 Volt battery and an on/off LED indicator. The 9 Volt battery can be taken out for recharging, but the three cell phone batteries were connected in serie so I had to find a solution for recharging them. Lucky for me I found a small recharging circuit which I could squeeze into that box too. It's located on the right and if you look closely you can see the little plug in which the charger plug goes (see the 'Black Box' picture). After solving all those problems I had to find out a way to get two separate voltages (1 variable for the engine and 1 for the spark plugs) to the engine block. After some serious thinking I suddenly realized that the solution was very simple. I work with computers every day and what is the most common thing you see on them? Right, USB cables. And USB cables have four wires! Problem solved! I quickly dived in the spare parts box at the office and found a couple of male and female USB connectors which were perfect for the job I had in mind. And here is the result and the details of the
wiring on the engine. |
 |
 |
 |
 |
 |
|
The 'Black
Box' with all of the electronics and batteries. (click on the picture to open a large picture in a new window) |
 |
|
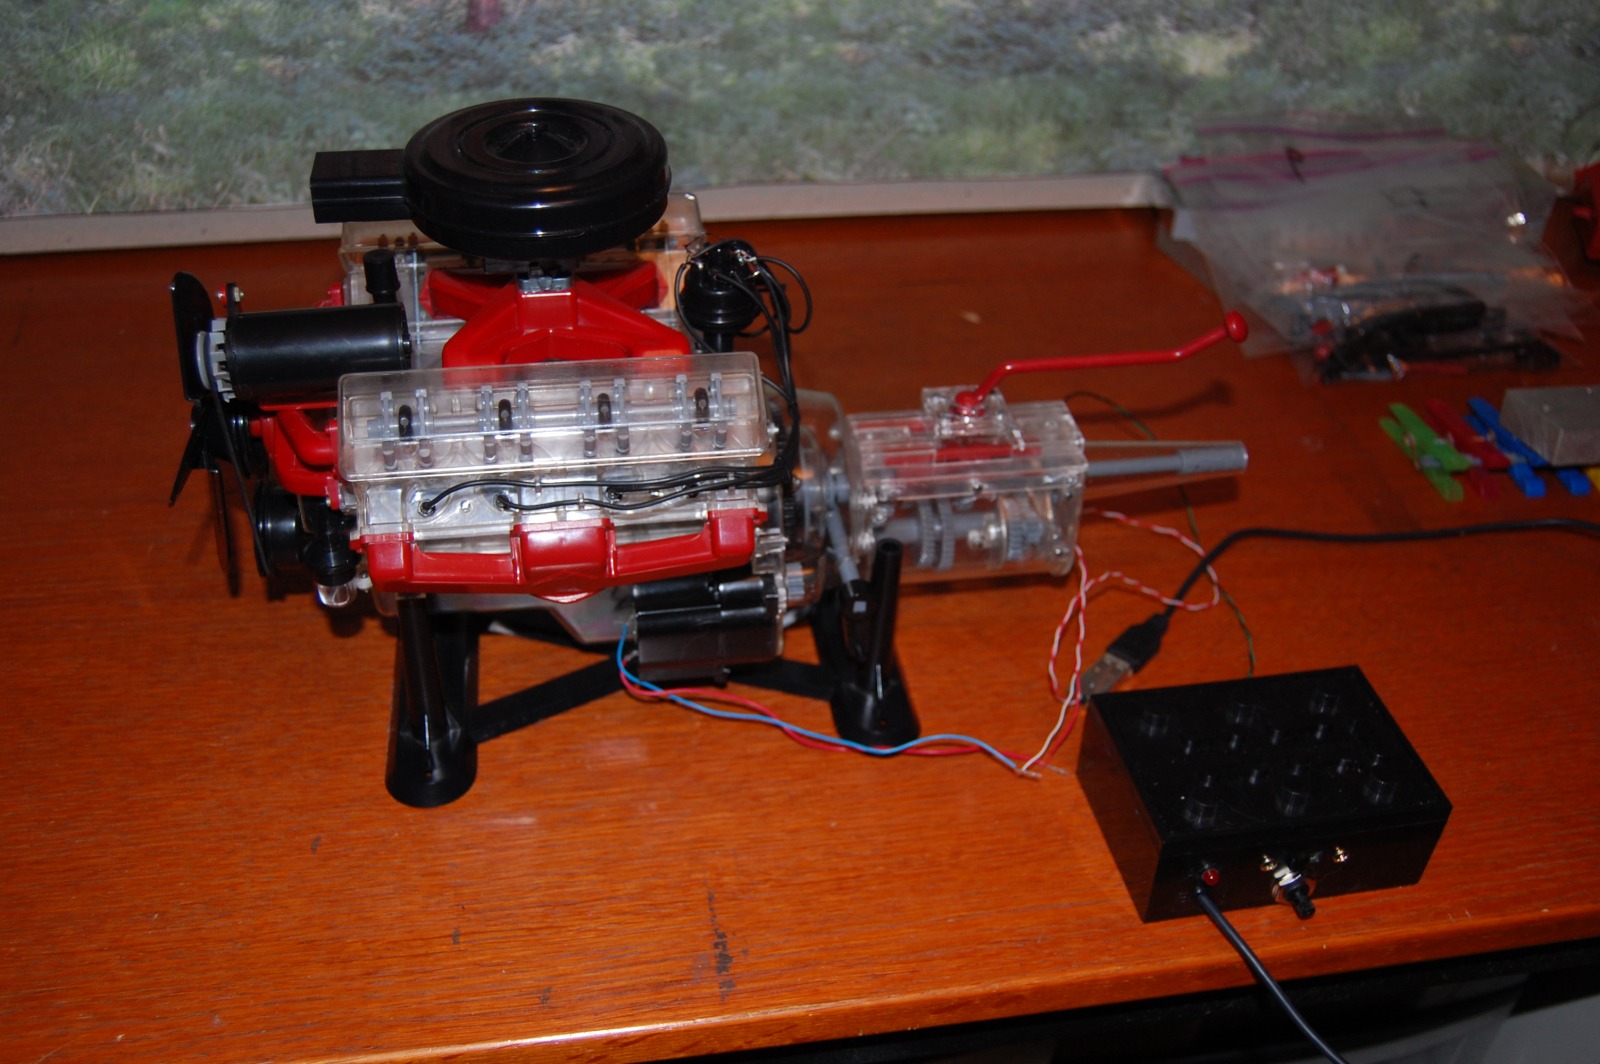
Testing the
engine... will all the electronics work....? Well, at least there is
no smoke or fire... (click on the picture to open a large picture in a new window) |
 |
|
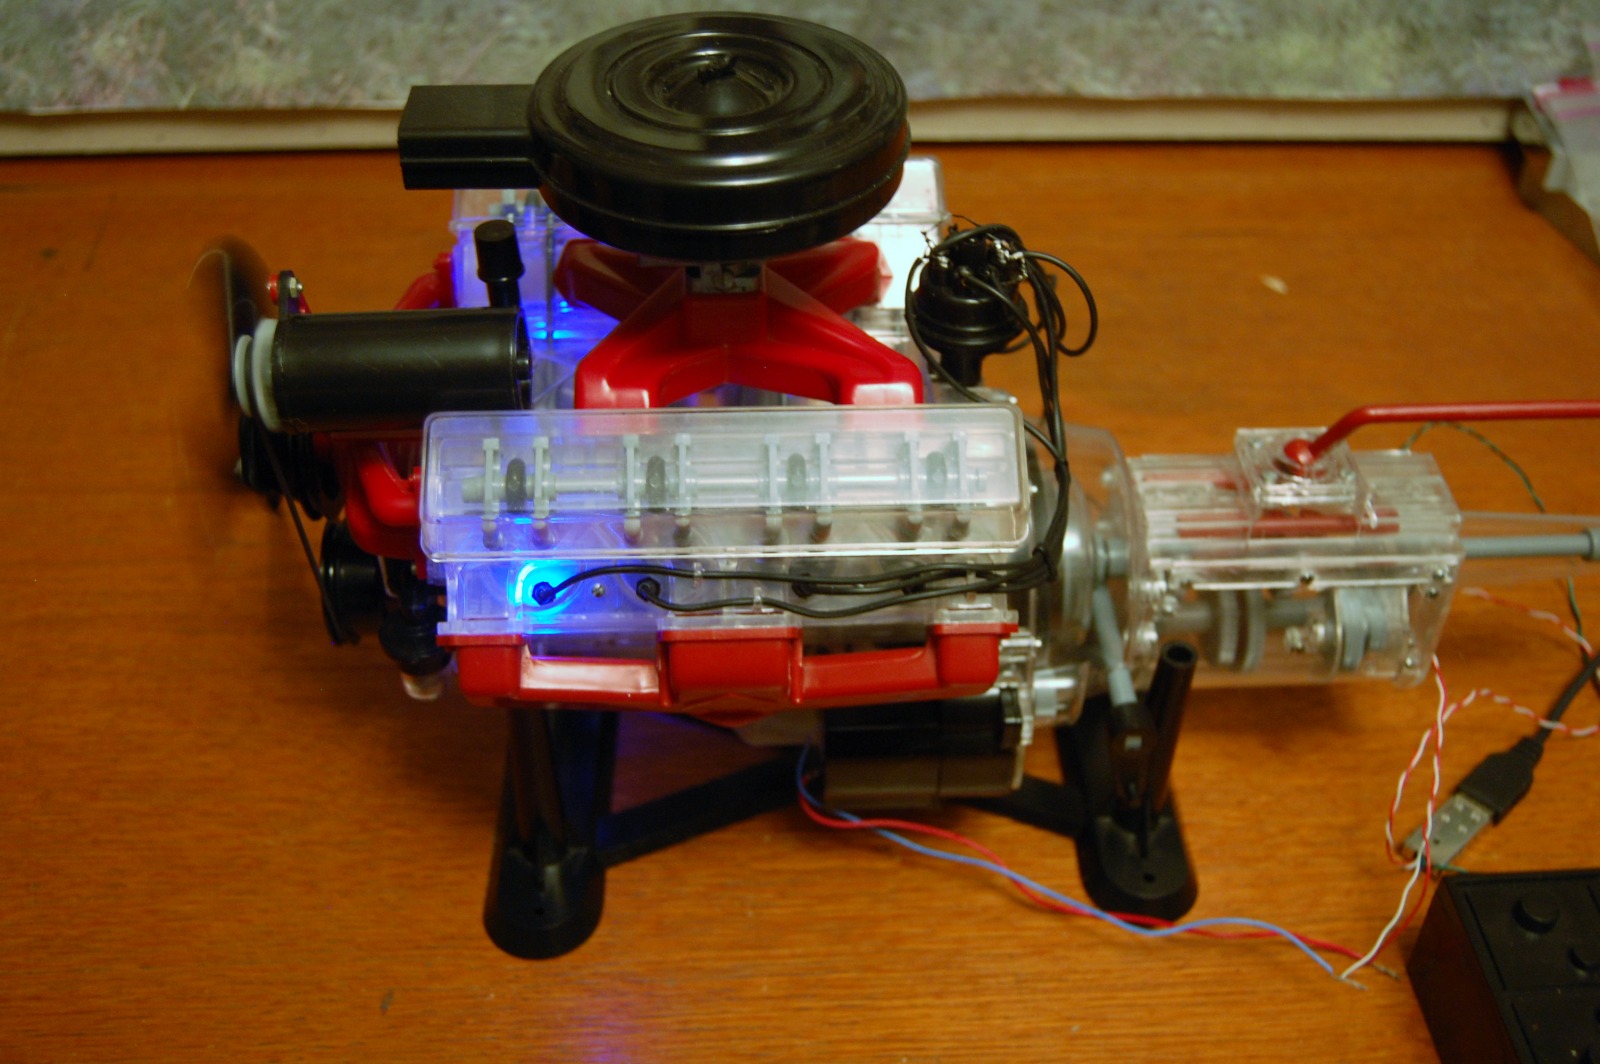
Yes! (click on the picture to open a large picture in a new window) |
 |
|
And with a little bit of the paint the 'remote control unit' is ready for use. (click on the picture to open a large picture in a new window) |
 |
|
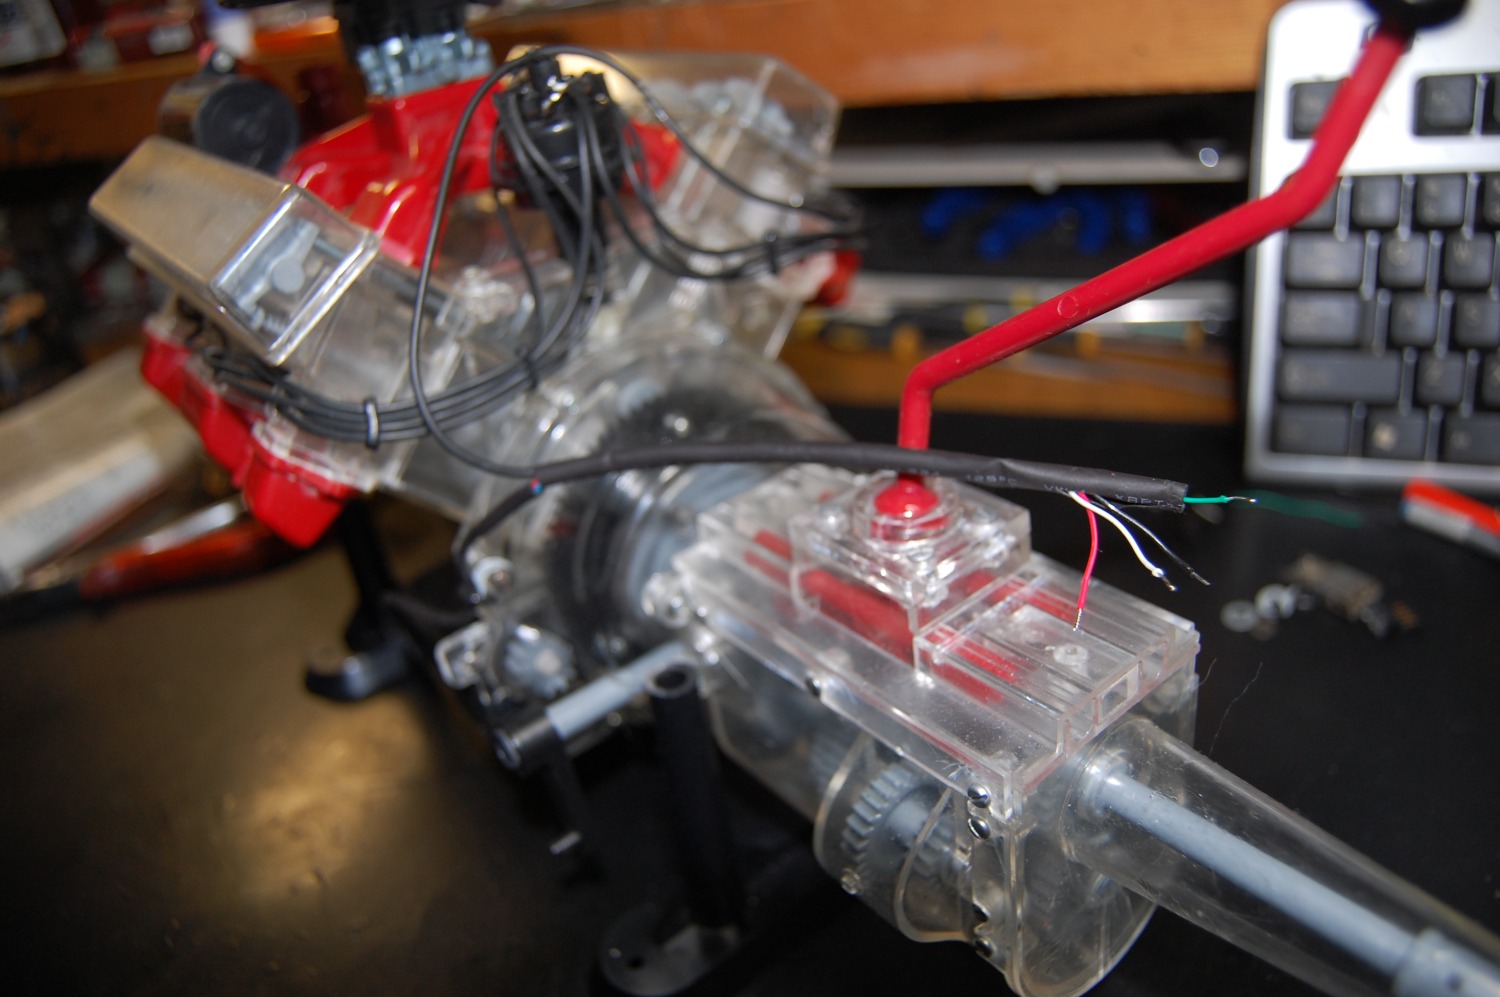
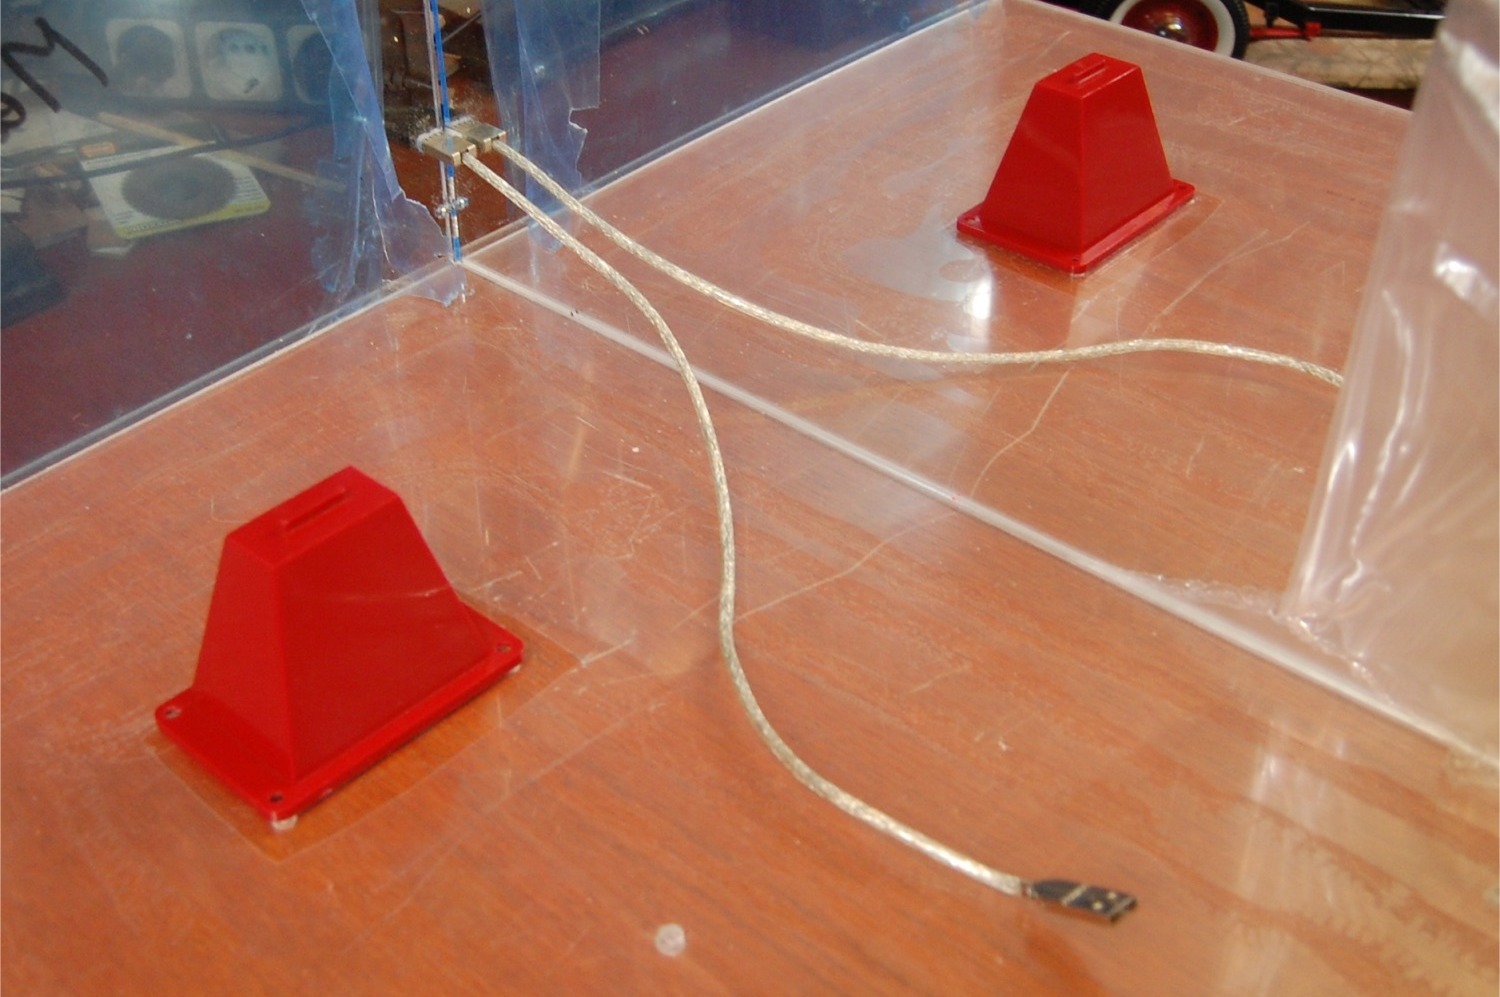
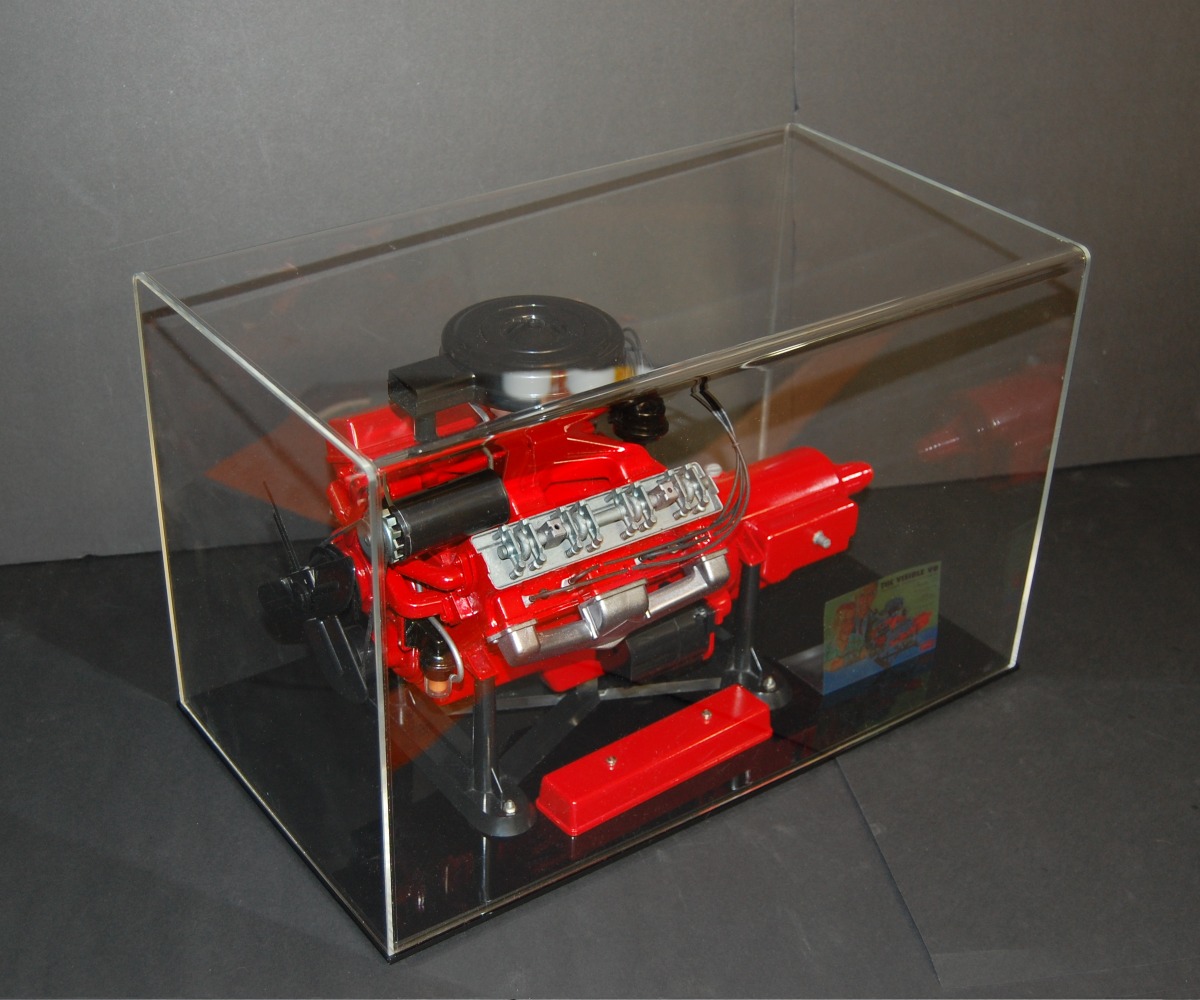
And here is a
picture of how I realized the final USB connection in the large
showcase of The Visible Automobile Chassis. (click on the picture to open a large picture in a new window) |
 |
|
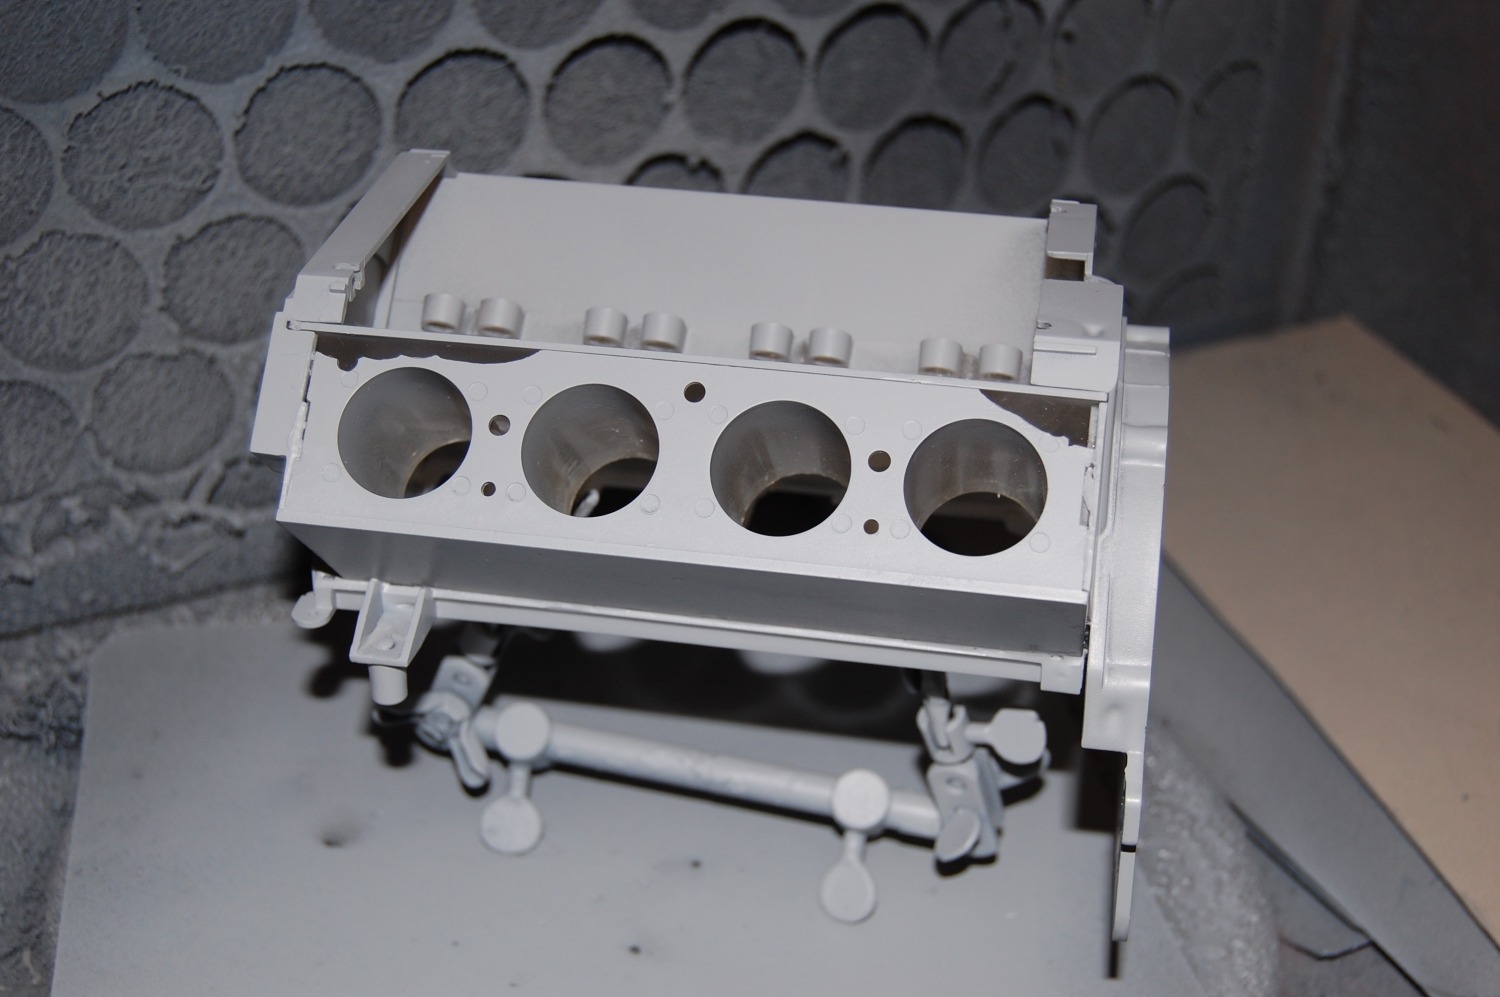
So, what
happened to the first V8 I bought, the one in a not very good
condition? Well, I was obviously not throwing it away. I decided to
paint it! And if anyone thinks that that was not a good thing to do
to a Visible V8, consider the damage you see on the picture below.
Large parts missing on top of the left cylinder row and a lot of
clear pieces were broken and had to be re-glued. (click on the picture to open a large picture in a new window) |
 |
|
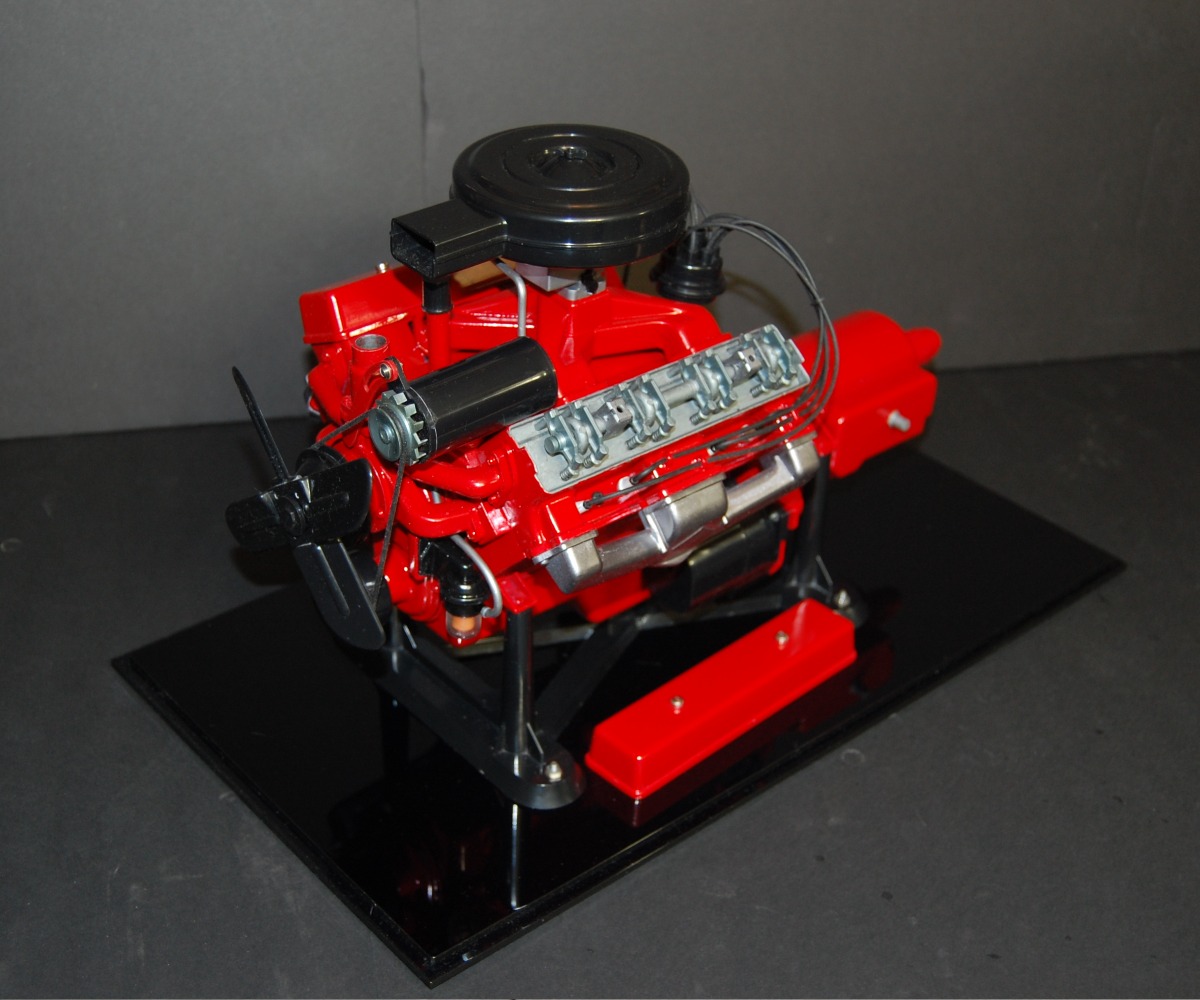
And here is
the engine as it really would have looked. I left the valve
cover of the left cylinder row off to show the valve and rocker arm
details. (click on the picture to open a large picture in a new window) |
 |
 |
 |